Hi! Welcome to my blog. I am a major foodie, with a haphazard cooking philosophy, currently making that transition from cooking and baking for friends and family to 'wonder if I could make this my career'. Follow me for recipes, the outcomes of a few experiments, and general lovely foodiness. Opinions, reviews and recommendations are all my own.

Saturday, 9 March 2013

Nigella's Easy Almond Cake

With Mother's Day upon us, I wanted to do something nice for the Mum's, and in my world at least, you can't get much nicer than cake! My 'brief' for Gary's Mum was 'Almonds', so I set about searching the world wide web for some ideas and inspirations. In the end, Nigella's 'Easy Almond Cake' caught my eye, not necessarily for the 'easy' part, but because the recipe calls for 250 grams of marzipan beaten into the cake batter - I was very intrigued to see how that even worked, let alone how the cake would taste... 

This recipe was, as it says in the title, very easy. Nigella's method is basically to add the ingredients one at a time into a food processor. As I am not yet lucky enough to own one (quick plea here to the Gods of Kitchen Aid...) I have adapted the method here to make this cake without the use of a processor. This recipe make a rich, moist cake, which is very buttery at first taste, and then the almond-y marzipan taste kicks in a few seconds later, and takes over your taste-buds. 

The cake would be completely delicious served straight up as it comes, with just a sprinkle of icing sugar on top, and a handful of fresh raspberries, however, as this was a Mother's Day cake, I wanted more of a statement. To complete the cake, I made some homemade almond praline, which I used to make an almond praline buttercream filling, and the cake was decorated with pale green buttercream roses, and colourful butterflies. The finished cake was definitely an almond lover's dream!

Almond Cake with Almond Praline Buttercream
Ingredients

For the cake;
  • 250 grams marzipan
  • 250 grams butter
  • 150 grams caster sugar
  • 1/4 teaspoon almond essence
  • 1/4 teaspoon vanilla extract
  • 6 eggs
  • 150 grams self-raising flour
For the almond praline;
  • 100 grams blanched whole almonds
  • 100 grams caster sugar
For the almond praline buttercream
  • 150 grams icing sugar
  • 150 grams softened un-salted butter
  • 4 heaped teaspoons ground almond praline
For the pale green buttercream roses;
  • 250 grams icing sugar
  • 250 grams softened un-salted butter
  • Sugarflair food coloring gel in Gooseberry
Method

Forgive me here - I haven't taken as many photos of the process as I normally do as I had a hundred plates spinning! And remember, this is my method from not owning a food processor, if you are lucky enough to possess one, check out the link above for Nigella's all-in method. 

Pre-heat the oven to 170 degrees, and grease an 8 inch round cake tin. 

Chop the marzipan into small cubes, and then blitz in a food processor to a fine crumb consistency. As I don't own one, I used my little mini food chopper I bought for £5 from Tesco to break down the marzipan. 

In a large bowl, cream together the butter and caster sugar until light and fluffy. Add the broken down marzipan, and beat well with an electric whisk until well combined with the butter and sugar. 

Add the vanilla and almond extracts, and beat well again. 

Add the eggs, one at a time, whisking the mixture well between each egg. 

Finally, add the flour, and fold into the mixture with a spatula until fully combined, then transfer the mixture into the prepared tin, and place in the bottom shelf of the oven. 

Bake for 45 - 50 minutes, until a skewer inserted comes out cleanish. Because the cake is so moist, the skewer will come out quite wet, but as long as there are no clumps of uncooked batter on it it will be cooked. As the cake is quite a long bake, I turned my oven down to 150 degrees part way through to prevent the top and sides from burning. 

For the Praline Buttercream and Decoration


To make the praline, place the whole almonds and sugar into a heavy bottomed saucepan or frying pan, and place over a low heat until the sugar starts to melt. Keep stirring with a metal spoon, so that the almonds get well coated with the caramelising sugar. Once the sugar is melted, turn the heat up slightly, and cook until the mixture turns a deep chestnut brown colour. Tip the mixture out onto a lightly greased sheet of baking parchment, and set aside to cool and set. 


Once the praline is set, break off some pieces, and put them into a processor or blender. Blitz until they are ground into a fine powder. 


To make up the praline buttercream, chop the softened butter into small cubes and put into a large bowl. Add the icing sugar in two stages, mixing well each time. Add four heaped teaspoons full of the ground almond praline (or more or less to suit tastes) and mix it through the buttercream until evenly distributed. 

To make up the pale green buttercream, chop the softened butter into small cubes and put into a large bowl. Add the icing sugar in two stages, mixing well each time. Add a small amount of the Gooseberry food colouring using a cocktail stick, and beat through until you achieve an even colour. 

To Assemble

Take the cooled cake, and with a serrated bread knife levelled off the top of the cake. Then cut the cake horizontally to make two layers. The best way to do this is to place the cake on a turntable, and make a small incision into the cake all the way around, to make sure that the cut is level throughout, then go back and cut right through to the centre of the cake. 

Dollop a small amount of buttercream onto a cakeboard or plate (to prevent the cake from sliding) and then place the bottom layer onto the board. 


Add the praline buttercream, and spread evenly across the cake.


Place the top layer on the cake. (Mine looks a little burnt here, but this photo was taken at 1am and it was a bit dark in my kitchen!)


Take a large piping bag, and use a large open star nozzle. Fill the bag with the pale green buttercream. Starting from the centre of the cake, pipe roses by applying an even pressure to the piping bag, and spiralling outwards from the centre. Make the roses all different sizes, and make sure that all of the surface of the cake has been covered. 


Allow the buttercream to set and harden, preferably overnight, then add the butterfly decorations (or you could use little blossoms, or anything you fancy really). Leaving the buttercream to set should prevent the moisture in the cream from softening your decorations, but you might need a little royal icing to fix them into place. 

And voila! A beautiful springtime cake, perfect for Mother's Day or any other spring occasion, and a real easy to make, but deceptively detailed showstopper of a cake! 

What cakes and bakes are you all making for your Mums this Mother's Day? Would love to hear/ see what you have made... V x


I am entering this post into this month's Forever Nigella, hosted this month by Jen over at Blue Kitchen Bakes, and coordinated by Sarah at Maison Cupcake. The theme for Forever Nigella #24 is 'Easter' and as this cake has a pretty springtime decoration, and the almond and marzipan flavouring is so similar to a traditional Easter Simnel Cake I think it fits perfectly.


Wednesday, 6 March 2013

New Cake Designs and Working With Fondant

For those of you who are regular readers of my blog, you'll know by now that I split my time between baking and trying out new recipes, and teaching myself cake decorating techniques. I'm fortunate enough to have some wonderfully supportive and trusting friends, who keep testing me with new designs and requests for their loved ones birthdays and special events. I'm truly grateful to you all, as Gary and I would never be able to eat enough cake to try out all of these ideas (although we do give it a bloomin' good try!) 

So, these are the latest few projects I have been working on over the last few weeks... 
'Cute as a Button' Cake

First up was a gift for a friend who has just had baby number two. The girl's and I descended last Friday night for coffee, cuddles and cake, and I made this adaptation of a basic sponge cake, using raspberry jam, and replacing the traditional buttercream with a white chocolate ganache. I use a button mould from Baked by Me and white chocolate coloured lilac and pink to make a cute button decoration for the sides. The white chocolate and raspberry combination was very tasty, and a great alternative to the traditional Victoria sponge.

Dark Mocha Xbox Controller Cake


The next cake I had to make was for Gary's birthday, my toughest critic, so no pressure! I spent ages trying to decide on a design and a flavour to make this one extra special, and eventually settled on a dark chocolate mocha cake, by adapting my favourite chocolate cake recipe (recipe here). I doubled up the quantities listed on my post, and add two tablespoons of instant coffee to the hot water mixture. I filled the cake with a dark chocolate ganache made with two teaspoons of Tia Maria.  The addition of coffee to this cake enhances the dark chocolate flavour and creates extra depth more than making a strong coffee taste. I spent hours on this cake, making the buttons, and using a toothpick to draw out the details (they aren't really clear from this picture). It took Gary four days before he would cut a slice from this cake, as he didn't want to cut into it, which I think means that I did a good job! The chocolate cake kept well, and the flavours had time to mature, and when we did cut in it was moist, rich and chocolate-y, exactly what I had hoped for!

Fondant Boxers
The next cake I made for my friend's nephew, who was turning nine. She texted me and asked if I would be able to make a boxing ring cake - it is worth noting that I do not have that little part of a brain that allows you to say 'No' - 'of course I can' I texted back... then I panicked. I turned to trusty Google, and started looking at pictures of boxing rings, and boxing ring cakes. The ring itself was pretty straight-forward, it just needed to be square and blue. That's where it got tricky. Nowhere could I see a solution for making the posts edible,and all the forums I looked at came up blank. In the end, I had a flash of inspiration - this is how I made the posts - incredibly delicate and fiddly but it worked a treat. I took four Italian breadsticks, and rolled out some fondant in red, white and blue. I used edible glue to stick the breadsticks to the fondant, and rolled them to cover the sticks completely. I left these to dry and harden overnight. 
Boxing Ring Cake

The following day I took a long skewer, and used it to carefully make three holes through each of the sticks. The brittle breadsticks and hardened fondant were very fragile (I did make a back up set and used them all as I had a few breakages) but in the end I was able to fix the posts to the cake, two white and then a red and a blue corner, and thread strawberry laces through the holes to form the ropes. 

The boxers are made from fondant, and I figured out how to make them after adapting skills from a tutorial on Bake Happy on how to make fondant people. All in all I was really pleased with the outcome of this cake, although I did have to use some white icing as glue which looked a little rough around the edges of some of the posts. 

The final cake to share tonight is one I made for one of my dearest friends to take to her Mum as an early Mother's day gift. This is a simple Victoria sponge, with raspberry jam and buttercream, and originally was going to have sprinkles on top, however a last minute phone-call led to a decision on the doggy toppers. This family love their dogs a great deal, and I really wanted to do justice to the three personalities of the pooches. I asked my friend to send me pictures of the dogs, and got to work with the fondant... these are the finished dogs and their real life pictures, I hope I did them justice! 


'Playful Pooches' Cake

Monday, 4 March 2013

Hearty Beef Goulash

Goulash is a traditional Hungarian dish with hundreds of varieties and recipes. The name originates from the name of the cattle-herders in Hungary, and evolved to become the name of the meat dish that the cattle-herders made. Sometimes it is made as a soup, and sometimes more as a stew. This is my interpretation of the dish, made with store cupboard ingredients, and it makes an easy, economical and hearty dish. It can be served with potatoes or rice, and is ideal for making in a slow cooker during the day, or making at the weekend and freezing in batches to take to work for individual lunches. 

The dish is wide open to substitutions and additions to use up what you have, you may consider switching the cannellini beans for kidney beans, or adding new potatoes or carrots, feel free to have some fun with this one!

Ingredients

1 Onion
500 grams Casserole Steak, diced
1 teaspoon Paprika
400 ml Beef Stock
400 grams (1 tin) Chopped Tomatoes
1 Red Pepper
1 Green Pepper
400 grams (1 tin) Cannellini Beans
3 teaspoons Cornflour
Salt and Pepper to taste

Method

Take a large heavy bottomed saucepan, and heat a tablespoon of olive oil. Roughly chop the onion, and add to the pan. (You can test that the oil is hot enough by dropping a piece of the onion into the pan - if it sizzles on contact, it is ready to use) 

Once the onions have softened and turned clear, add the beef to the pan. Fry for 2 - 3 minutes until the meat browns, then add the paprika and stir until the meat is well coated. 

De-seed and chop the red and green peppers and add to the pan. Add the beef stock and the tomatoes, and stir well. Cover the pan with a lid, and leave to simmer for 1 - 1 1/2 hours. Alternatively at this point transfer the mixture to a slow cooker, and cook on the low setting for 8 hours.


When the meat has tenderised, drain the can of cannellini beans and add. Mix the cornflour with a few teaspoons of water to make a paste. Add the cornflour mixture to the pan, and stir thoroughly to thicken the goulash. Season to taste. Cook for a further 15 - 20 minutes to allow the cannellini beans to cook, then serve with potatoes or rice, or simply in a large bowl with hunks of crusty buttered bread.


I am entering this into Credit Crunch Munch run by Helen at Fuss Free Flavours and Camilla at Fab Food 4 All, as it is a brilliant dish for using up leftovers, making the most of cheaper cuts of beef, and great for freezing or portioning for lunches. Helen has asked for substitutions this month, and although there aren't any in my recipe, the dish itself is great for adapting and substituting depending on what is in the house.


Sunday, 3 March 2013

Plum and Almond Crumble

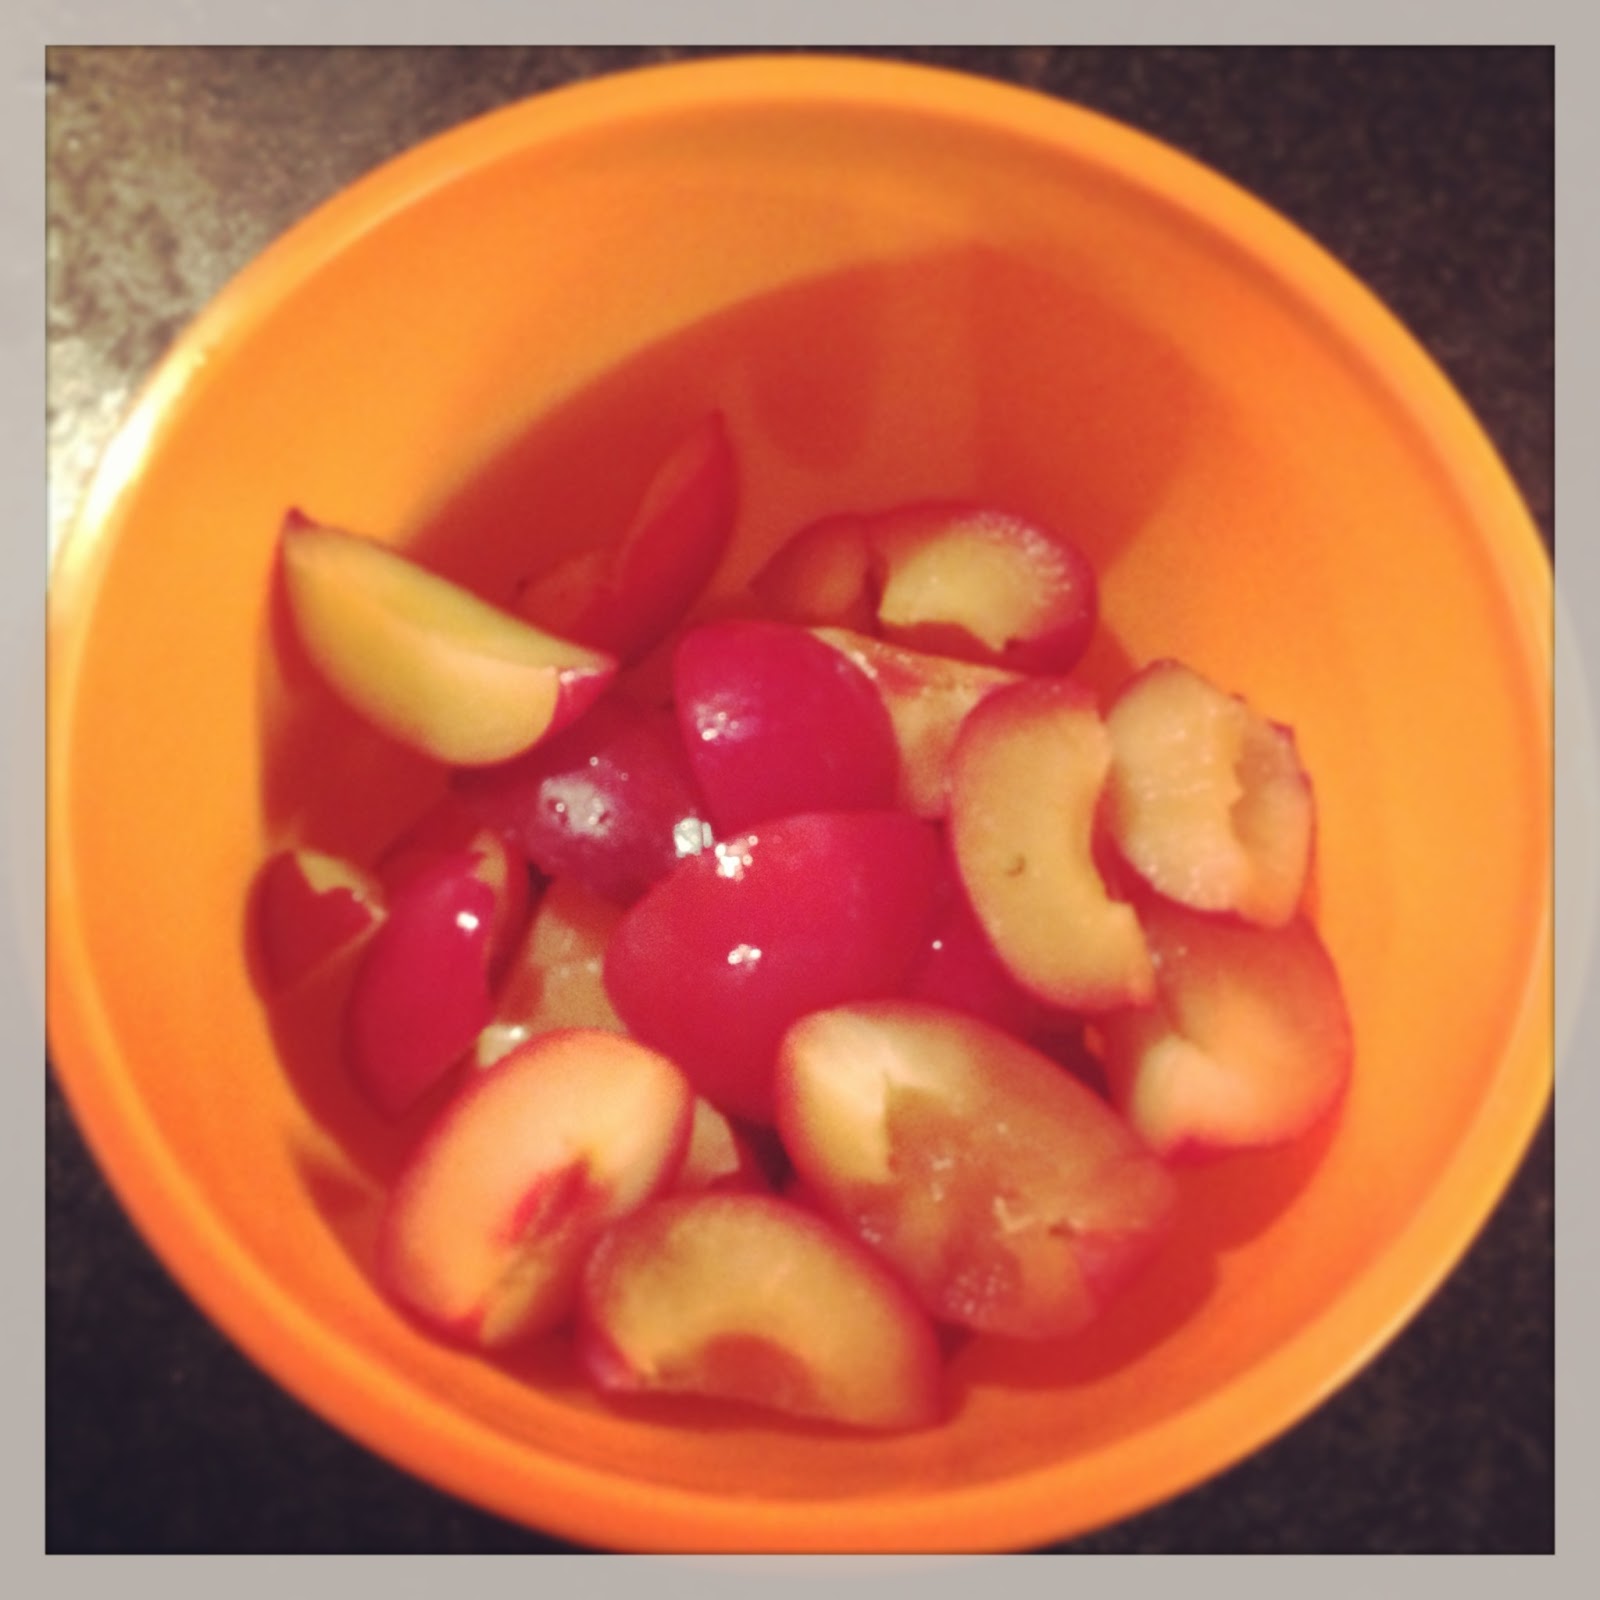
As much as I love experimenting with recipes and flavours from different cultures, sometimes the British Classics are just simply the best. Almost any fruit can be made into a crumble, which makes it a perfect dish as well for using up seasonal fruit. A crumble can be pepped up in any number of ways, through the addition of spices to the fruit, or nuts to the crumble mixture, a teaspoon of ginger in a rhubarb crumble totally transforms it trust me. 

Plum and Almond Crumble
Today, I had a punnet of plums that I had forgotten I bought, and they needed to be used up. I had also discovered when tidying my store cupboards that I had eight, yes eight, packs of ground almonds hanging around (for some reason, almonds and lasagne sheets I seem to always forget I have and buy them again and again unnecessarily). 


Ingredients

For the stewed plums;

350 grams plums, stones removed and quartered
2 tablespoons water
2 tablespoons sugar
1/2 teaspoon mixed spice

For the almond crumble;

125 grams plain flour
75 grams butter
80 grams sugar
30 grams ground almonds

For the topping;

Flaked almonds
1 tablespoon sugar

Method

Put the plums, sugar, water and mixed spice in a saucepan, and place over a low heat. Cook for 10 - 15 minutes, stirring occasionally, until the sugar has dissolved, and the plums are starting to stew, but are still holding some of their shape.


Remove from the heat, and divide into four ramekins.


In a large mixing bowl, add the flour and butter, and rub together to form a fine breadcrumb like texture. Add the sugar and ground almonds, and mix well.

Spoon the crumble mixture over the plums, and press down with the back of a spoon.


Sprinkle the flaked almonds and sugar over the top.


Bake for 20 minutes, and then serve with double cream, ice cream or custard. 

I am entering this post into this month's Credit Crunch Munch, hosted by Helen at Fuss Free Flavours, and Camilla at Fab Food 4 All, as it a great recipe for using up fruit, and is made from simple store cupboard ingredients. Helen has made a special request this month for substitutions, and this recipe is wide open for them, you can substitute the fruit, the spices, and the almonds for any combination that takes your fancy! I'd love to hear any ideas below that you might have...


Friday, 1 March 2013

The Versatile Blogger Award


One of the most exciting things that has happened to me in the last week is that I was nominated for the Versatile Blogger Award by Kat over at The Baking Explorer. This is the first award like this I have ever received and certainly the first seal of approval on my little blog and I am just ecstatic to have been picked for the honour! Kat and I connected over a mutual love of attempting Great British Bake Off challenges (a love I am sure we share with many of you out there!) and I can't thank her enough for passing this on to me. 

The VBA is like a chain reaction, each nominee can display the award, and in turn pass it on by nominating their own selection of great blogs. You can find out more information about the VBA on their site.

So, the first rule is to pass on the nomination to 15 other blogs that you read regularly, subscribe to, or have found recently. I am aware that a few of the blogs here may have been nominated before, however there doesn't appear to be anything in the rules that says they can't be nominated again, and I really enjoy what they do. I also wanted to take this just a step further and add a sentence as to why I have chosen each blog. And so, in no particular order...

My 15 Nominees 

I found Chloe through searching for cupcake decoration ideas, however her blog is so much more! Chloe writes so openly and transparently about her life on her blog that I feel like I know her, even all the way across the Atlantic - I genuinely look forward to her next instalments!

2. Lavender and Lovage
This blog is one that if you find your way onto, hours can pass before you emerge on the other side, blinking, and fully gorged on mouth-watering recipes and stunning photography. For me this is the Graceland of food blogs - plus Karen hosts some incredible giveaways too! 

I fell head over heels in an instant when I saw Lucy's awesome 'Crown of Love' cake on Twitter, and I promise the rest of the goodies found on her blog are equally swoonsome! 

4. Fab Food 4 All
Camilla has everything on her site, I find it a really good place to go for inspiration when I fancy something new for dinner. Camilla also co-hosts Credit Crunch Munch, a blogging challenge for finding cost effective, tasty meals - and I love seeing the vast range of ideas that get shared in the challenge each month... real food for thought!

5. Blue Kitchen Bakes
Jen has just celebrated her one year blog birthday, and I hope this blog will be as comprehensive when it turns one later this year. I have recently stumbled across Jen's Classic French challenge, and am looking forward to being tested to try something new over the next few months.

6. Mad About Baking
Kelly's blog is brand new for 2013, and I am looking forward to following her blog/baking journey from the beginning. Plus she has already taught me that I never need to buy ready made wraps again - for this I will be eternally grateful! 

What Rachel doesn't know about Bundt cakes seriously isn't worth knowing, and I have her to thank for the recipe for my Grandpa's birthday cake that sent me straight to the #1 Granddaughter spot! 

8. Cake of the Week
Cake of the Week is a new find for me, and there are two main reasons why Janine has made this list for me. Firstly is her recipe for Low Fat Cheesecake Brownies with Ganache Topping... yes... Low Fat... incredible. And secondly for her Baking with Spirit challenge, which I cannot wait to enter next month, as it combines my two favourite things, cake and liquor!

9. Bird on a Cake
Fabulous cake designs. Fabulous recipes. Fabulous photography. Robin is so incredibly creative with her designs, and she has great tutorials on here as well.

10. Sweet 2 Eat Baking
Lisa at Sweet 2 Eat Baking has got the whole US/UK conversion thing nailed, and for this I am in awe of her. Then I found her recipe for Chocolate Chip Cookie Dough Fudge, and I was a gonna!

11. Cupcakery
Whenever I get to the end of one of Hazel's posts, I feel like I have just gotten to the bottom of a hot cup of tea, there are a scattering of crumbs left on my plate, and I reluctantly have to tear myself away from a dear friend and step back out into the cold and go about my business. That is the sign to me of a great blog...

12. My Cupcake Habit
'Cupcake Girl' is another new blogger for 2013. What I love about her blog is the absolute excitement and enthusiasm for baking that she writes with... it's the pure joy and pride that we all feel when we've turned a selection of basic ingredients into an amazing bake.

13. Bake Happy
From the cake decorator side of me, Bake Happy is packed full of amazing step-by-step tutorials and how to guides. Blogging from the Philippines, Aikko aspires to be a cake artist. I'd say she's already there! I learned how to make fondant people from this blog, and it's my first port of call whenever I have a new project I need some guidance on.

14. Nate British Bake Off
Nathan's blog charts his one man campaign to make it onto the next series of the Great British Bake Off. As a professional photographer, his pictures will make you drool a little bit, and I love his honesty about his baking successes and fails (I personally try to pretend mine never happened!)

15. She Who Bakes
Britt is a sugar craft tutor, and her blog posts cover this and also great recipes and bakes - her easy teaching style comes through in her writing, which makes her tutorials and hints and tips a great handy place to go. 

The second rule is to share seven things about yourself, so here goes...

7 Things About Me

1. I studied Dance at University. This is still the thing that surprises people the most about me! Possibly because cake has taken it's sweet toll on me and I no longer have the physique!

2. I got my first job at 14, and have worked ever since. It has taken me a further 14 years however to get to this point now, when I've finally realised what I want to do for a living... hopefully it won't take another 14 to accomplish it!

3. I started this blog in September 2012 as an outlet to write about my cake designs, and chart my progress as I tried to learn new cake decorating skills. Then I discovered the 'blogging community' and fell in love with you all! Whilst I still add the odd post with an update on my cake-ing progress, I am enjoying exploring the world of reviews, blog hops, competitions, and blog challenges.

4. I have several food related dreams... I will be happy if at least one comes true one day. I would love to become a professional cake decorator. I'd like to open my own bistro. And like all food bloggers out there I am sure, I would love to see my name in print in my own cookery book.

5. I am an avid follower of the Formula One, and have been since as long as I can remember. Sunday's to me are made for baking, Sunday roasts, and the F1 races - we even signed up to Sky for the sole reason of being able to see the races when they moved from BBC 1...

6. I was born and bred in Derbyshire, and spent a lot of my childhood on walks and adventures in the Peak District. It's still the place that I feel most at home and comfortable, and there are places that I can still go and sit and look out on a view and be 8 years old again in an instant.

Source: http://blog.nikonownermagazine.com/files/2011/08/north-mid_millstones.jpg


7. My partner is from Newton Abbot in Devon, we met when I was at University in Bath, and he was wonderful enough to up and move back to the shire with me when I graduated. I do enjoy our trips to Devon to visit the 'in-laws' - being a land-locked girl, the proximity to the seaside gets me giddy every time!


Source: http://www.torquay.com/userfiles/images/torquay-seafront.jpg

And that's me... I hope that you find enjoyment and inspiration in the blogs that I have nominated, and I hope that my nominees are as excited as I am to be part of the VBA chain!  

Monday, 25 February 2013

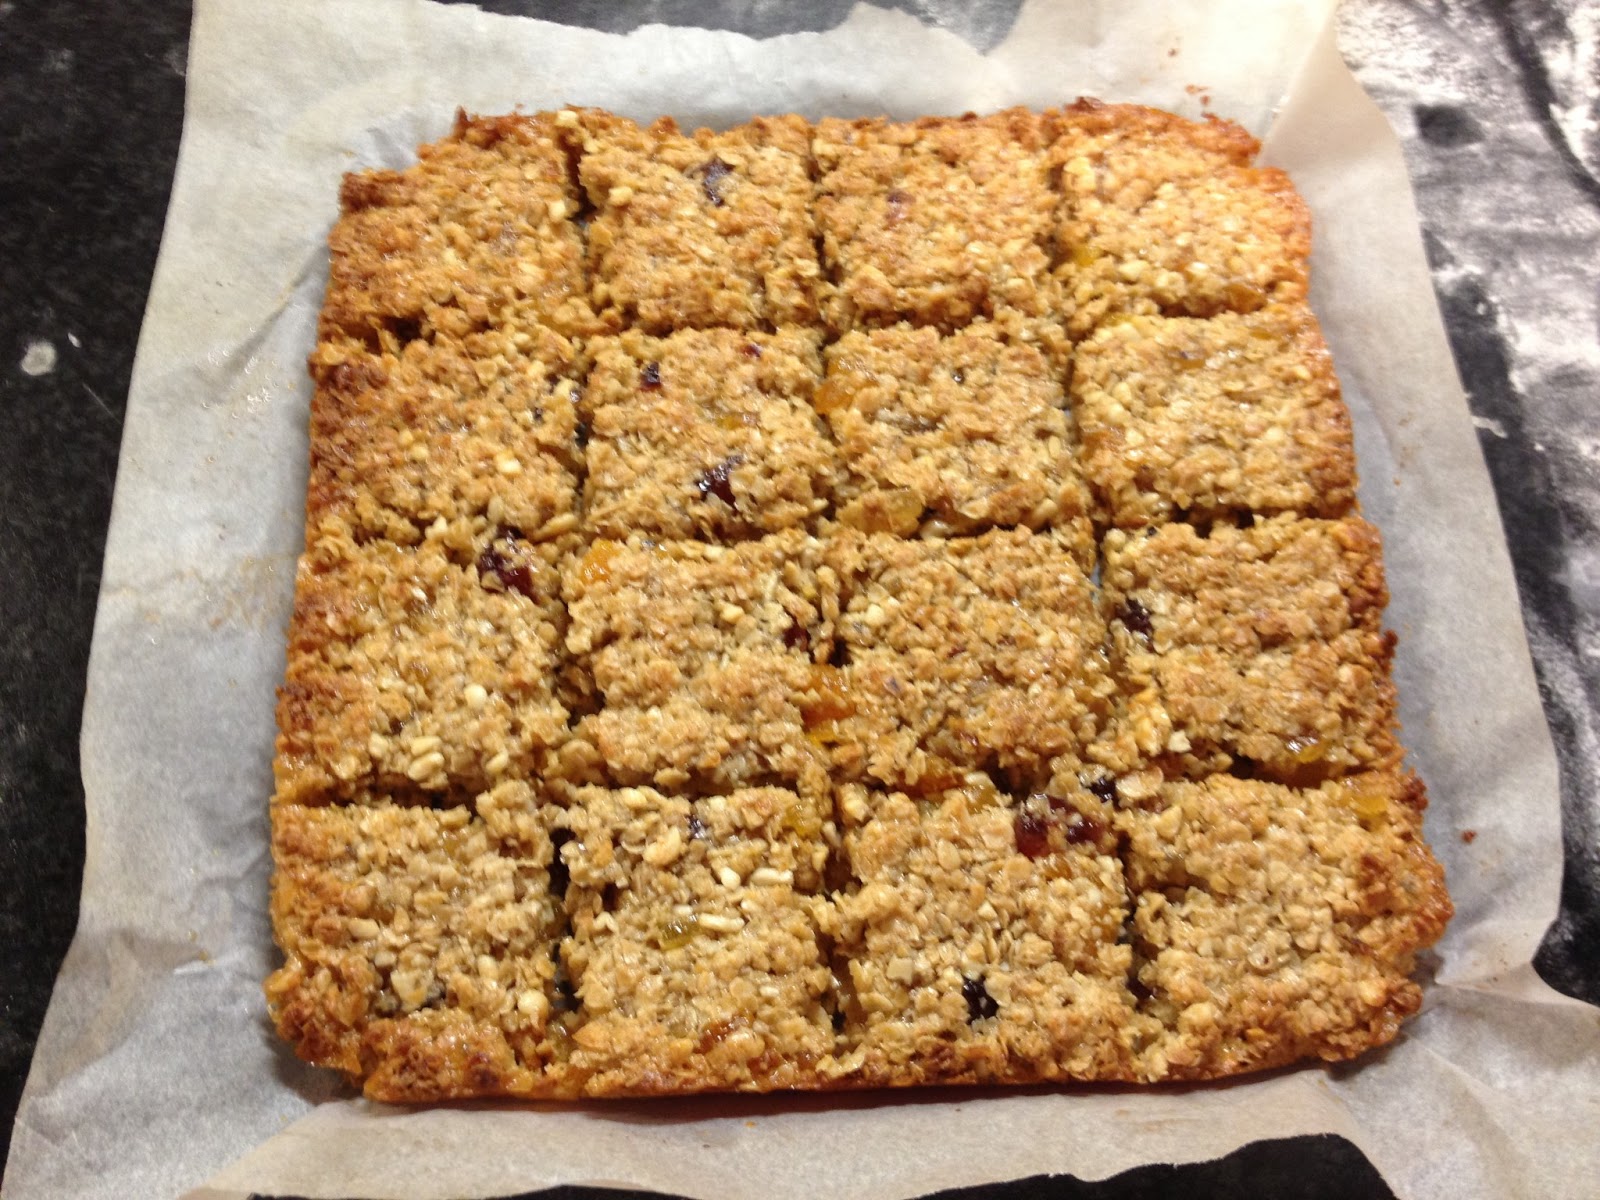
Honey, Fruit and Nut Flapjacks

I think everyone has a handful of easy recipes that they make over and over again because they are simple and they taste good. They become a weekly feature in the home, and almost a habit for the baker, until one weekend, you forget, or have commitments that prevent you from making that regular batch, and suddenly you break the habit and don't have any for ages. Chocolate Brownies are one of mine, and Flapjack is another.

Honey, Fruit and Nut Flapjacks
I adore flapjack for its simplicity, a few ingredients in a bowl, bake it and done, and also because it just about convinces me that I'm taking a healthy choice over cake or pudding... ok, I said just about! 

I particularly like this recipe for two reasons, one because I have adapted it over time to have the easiest list of ingredients and quantities to remember by heart, and secondly because of the use of honey rather than golden syrup, which gives the flapjack a really subtle flowery taste rather than sticky sweet. (You could always directly replace the honey for golden syrup if you wished however.)

The Recipe

100 grams butter
100 ml honey
100 grams golden caster sugar
200 grams rolled or porridge oats
100 grams mixed fruit and nuts (I have used chopped hazelnuts, dried apricots, mango and pineapple, and glace cherries here, - but feel free to mix up to your tastes with this - you could have lots of flavours like me, or keep it simple with one or two key ingredients)

Makes 16 square flapjacks, or 8 breakfast bars.

To make the flapjacks, line a 20 cm square tin with baking parchment and grease well. 

Put the butter, honey and caster sugar in a saucepan, and heat until the butter and sugar are melted and then stir all the ingredients until well combined.


Meanwhile put the rolled oats, fruit and nuts into a large bowl and stir together. Pour over the butter and honey mixture, and stir well until all of the oats and fruit are coated. 


Transfer the mixture to the lined tin, and spread evenly, pushing the mixture into the corners and pressing down flat with the back of a spoon or spatula. 


Bake in the oven at 180 degrees for 15 minutes, or until lightly golden on top. Avoid letting the edges burn.


Remove from the oven, and place on a cooling rack still in the tin. Leave to cool for 3-4 minutes, and then whilst the mixture is still warm, use a pallet knife to slice the flapjacks into the sizes required. 


Leave in the tin to cool completely, then lift out of the tin using the baking parchment. You may need to re-cut the slices here with a knife, by just cutting through the marks made with the pallet knife. 


Flapjacks will keep well in an airtight tin for 7-10 days... not that they have ever lasted that long in our house...


Saturday, 23 February 2013

Chicken and Leek Pie, and a Productive Day

Today I honestly feel I could rival Anthea Turner for her Good Housewife crown. In no particular order, I have done the biggest of big shops you could imagine, cleaned the oven (urgh), made two lasagnas to freeze, a batch of gorgeous Honey, Fruit and Nut Flapjacks (recipe to follow soon), portioned out meat and veg to freeze, and beeswaxed the furniture... phew! Then I made these Chicken and Leek Pies, one large one for dinner, and four smaller to freeze for Gary for later in the week. (my pie crust was a little thin on the large one - forgive me the cracked top, it still tastes delicious I promise!)

Chicken and Leek Pie
I never made any new years resolutions this year, but I am trying to be better at budgeting and less wasteful, both of money and food. In our house we are notoriously bad a portion control. I often buy meat to freeze, however when we defrost we wind up eating more in order not to waste it. Now I try to pre-portion meat into freezer bags, for example, if we buy a pack of four chicken breasts, I will separate them into two lots of two, then we only need to defrost what we need. Lately, I have extended this to fresh vegetables. Again, I prep, portion, bag and freeze, and then we can just take out what we need when we need it, and it saves me from that horribly guilty feeling of throwing out bad food at the end of each week. 

Anyway, back to my pies... I made these from fresh chicken, and a chicken stock cube, however they would work equally well, if not better, from leftover roast dinner meat and fresh stock from the carcass. The quantities here made one 8 inch pie and four 4 inch pies, but would equally make 2 8 inch or one large pie. 

Here goes,

For the shortcrust pastry

300 grams plain flour
150 grams butter, cubed
120 ml cold water
1 egg, beaten

For the Chicken and Leek filling

400g chicken, uncooked or leftover will work equally, cut into pieces
1 teaspoon thyme
1 teaspoon rosemary
Small glass of white wine
2 leeks, sliced
1 litre chicken stock, either fresh or from a stock cube
3 medium carrots, diced
8 large mushrooms, diced
2 tablespoons double cream
3 teaspoons cornflour

Pre-heat the oven to 180 degrees.

To make the pastry, sift the flour into a large bowl, and mix in the salt. Cube the butter and rub into the flour to produce a fine crumb like texture. Add the water a tbsp at a time. I have quite warm hands, so use a fork for this stage to stir the water through the mixture, and add a small amount at a time until the pastry starts to ball up. I usually do not have to use the full amount of the water. Once the pastry starts to ball, use your hands to gather the mixture together and shape the dough into a ball.

Wrap the ball in cling film and place in the fridge. 

Take a large saucepan. Heat a little oil until hot, then add the chicken and the herbs. Cook for a couple of minutes to brown the meat, then pour in the white wine and stir well. Add the leeks, and allow to soften. Meanwhile, make up the stock if you are using a stock cube.

Add the stock to the pan, along with the remainder of the vegetables. Turn down the heat, and simmer for 30 minutes, until the chicken is well cooked. 

Finally, add the double cream and stir well. To thicken the sauce, mix the cornflour with a little water, and add in three stages, stirring each time to check how thick the sauce is getting. Remove from the heat and set aside. 


Take the pastry from the fridge, take half, and roll out on a lightly floured surface, to around 3mm thick. Transfer the pastry to a pie dish using your rolling pin. Gently press the pastry into the corners of the dish, then trim the excess. 


Line the dishes with foil and blind bake the pastry for 10 minutes, remove the foil, and bake for a further 5 minutes. 

Remove the dishes from the oven. Fill each of the pies with the chicken filling, and brush the edges of the pastry case with the beaten egg. Roll out the remaining pastry and make a lid for the pie by transferring the pastry to the top of the pie, pressing the edges lightly to join the egg-brushed edges, and trim the excess. Make a small slit in the top, and brush all over with the egg wash. 


Bake for 25 minutes until the pie crust is golden. Remove from the oven, and serve. We ate ours with crispy roast potatoes... delish!