Hi! Welcome to my blog. I am a major foodie, with a haphazard cooking philosophy, currently making that transition from cooking and baking for friends and family to 'wonder if I could make this my career'. Follow me for recipes, the outcomes of a few experiments, and general lovely foodiness. Opinions, reviews and recommendations are all my own.
Showing posts with label Birthday Party. Show all posts

Wednesday, 31 July 2013

July's Forever Nigella Round Up: Party Party!


Boy would I like to go to the party where all these lovely dishes were served! Again, the hot weather has kept a lot of us busy, but these five dishes are all delicious and perfect for any party situation you may find yourself in this summer.

Grilled or Barbecued Halloumi with Chilli

Caroline from Caroline Makes must have been the guest of honour when she arrived at a family BBQ with this tasty dish of halloumi marinaded in lemon and chilli. Simple and yet very effective.

Rhubarb and Rose Polenta Cake

Next up is a serious centrepiece for any party, this Rhubarb and Rose Polenta Cake from Choclette at Chocolate Log Blog, which contains the addition of yummy white chocolate, and her homemade rose syrup.

Mini Cheesecakes

Inspired by Nigella's No Bake Cherry Cheesecake, It's A Fine Life created these beautiful fruit topped Mini Cheesecakes for a charity bake sale. I think you'll agree that they would be perfect on any party table too.

Chocolate and Pistachio Macarons

Katharine from Leeks and Limoni created a sensational recipe mash-up with these Chocolate and Pistachio Macarons, using two Nigella recipes for the Chocolate shells and Pistachio filling.

Irish Cream Tiramisu

Last up was my entry of Irish Cream Tiramisu. The full recipe for this dish would make a substantial party dessert, I halved the quantities and still had enough to last us 3 nights! 

Forever Nigella is run by Sarah at Maison Cupcake, head over to her site to find the theme and host for August. 

Monday, 1 July 2013

July's Forever Nigella Challenge

I. Love. Nigella. In fact, I try and kid myself that we're not all that dissimilar, both unapologetic food addicts with long brunette hair and an ample bosom... in truth, I hope that I have but an ounce of her talent, charm and appeal, but hey a girl can dream. I can be quite an arm chair critic when it comes to cookery shows, although goodness knows I would be terrible myself in front of a camera, however I always loved Nigella's, I think because she always said what I was thinking.

From being a young girl, I remember watching her throw together amazing looking dinner parties and gatherings of friends, that were all about the food and the atmosphere, just great friends in cosy settings, and I hoped that I would be able to recreate this when I had my own home. And whilst I realise now that much of that may have been for the camera (ok I'm slow on the uptake) I still try to make sure there is always good food and drink to hand whenever guest come a-calling.

As July is my birthday month, (not that I ever make a fuss about it at all!!), and in deference to my favourite hostess with the mostest, I'm setting this month's Forever Nigella theme as Party Party Party! I'm throwing this wide open, be it refined dinner party, summer bbq food, big bold beautiful birthday cakes, or nibbles and canapes, anything at all that has a sense of celebration and people coming together is fine by me!

The Rules:
  • The challenge is open until the 28th July, with entries via the linky below, or by emailing the post URL to kickatthepantrydoor@gmail.com
  • You can enter as many posts as you like, the more the merrier!
  • I will endeavour to have the round up live on the 1st August.
  • Linked posts must contain this month's Forever Nigella badge, and contain link backs to this post, and to Forever Nigella creator Sarah at Maison Cupcake.
  • Remember Copyright Please do NOT reproduce Nigells'a recipe verbatim. Say which book it was and/or link to it online. If you have adapted the recipe, i.e. changed at least two of the ingredients or amended the method then it's ok to publish your version of the recipe, but still include the credit back to the original source. Always use your own words. 
  • For a list of Nigella resources for inspiration, check the Forever Nigella page.
  • If you are on twitter, you can tweet a link to myself @ThePantryDoor1 and Sarah @maisoncupcake using #forevernigella, and we will RT all that we see. 


Monday, 18 February 2013

Honey and Ginger Bundt Cake

I decided to make a cake for my Grandpa's birthday this weekend, as the family were all having a get together on Saturday to celebrate. I love the 'get togethers' that we have in our family - they remind me of such happy childhood times - my grandparents have a gorgeous farmstead between Derbyshire and Sheffield, and my childhood was filled with walks in the countryside, summer days 'helping' bring in the hay, and big meals surrounded by aunties and uncles, pets, and cousins. Sadly they don't happen as often now as they used to, and with my generation now all in our twenties and scattered across the country, it is rare that everyone is in the same place at the same time. 

'Honey to the Bee' Honey and Ginger Bundt
When I came to deciding what cake to make for this occasion, I decided I wanted to create something that represented my Grandpa, rather than going all out with fancy icing and decoration, which I knew he wouldn't appreciate. I knew that this cake therefore had to be about taste, rather than style. I must also add that my Grandpa was a baker, and a cook in the armed forces during the war, so knows a thing or two about a good bake. No pressure then. 

Now I do know that he is partial to a little ginger from time to time, and equally that he always takes his tea with honey, not sugar, so when I stumbled upon this gorgeous Honey and Ginger Bundt recipe on Dolly Bakes blog during a late night browsing session, I knew it was meant to be!

I have added the recipe below, and made no variations - full credit to Rachel at Dolly Bakes - the cake went down a treat, everyone loved it, including my youngest cousin who, at the age of 11, I thought might not appreciate the ginger taste. My Uncle was straight up for second helpings, closely followed by my Mum - which is unheard of! My Grandpa complimented the moistness of the cake contrasted with the slightly crisp edges, and said that there was 'just enough' sweetness with the glacĂ© icing and honey drizzle. And of course, everyone loved the fondant bees! They make me smile whenever I look at them! 


To make the bees, colour a small amount of fondant or marzipan to a pale orange colour. Break of a grape sized amount, roll into a ball, and then squash to a more oblong shape. Melt a small amount of dark chocolate, and pipe over the bee bodies in lines. Press two even sized flaked almonds into the body to make the wings whilst the chocolate is still setting, to avoid it cracking. Finally, using a cocktail stick dipped in brown food colouring draw on the eyes and mouth.


Ingredients:
  • 225g butter
  • 450g golden caster sugar
  • 4 medium eggs
  • 350g plain flour
  • 4 tsp ground ginger
  • 1 tsp mixed spice
  • 1/2 tsp bicarbonate of soda
  • 1/2 tsp salt
  • 200ml thick honey flavoured yogurt 
  • 50ml local honey
  • 100g crystallised ginger cut into small chunks and tossed in flour

To make the cake, pre-heat the oven to 160 degrees. Grease the bundt tin, and sift a little flour in. This is to help easy release of the cake from the tin. (On an aside - I only have one bundt tin at the moment, which is a springform universal tin, much easier for removing the cake, but probably frowned upon by the bundt experts!)


Soften the butter, then cream in the sugar a stage at a time. Then beat in the eggs one at a time.


Combine the flour, mixed spice, ground ginger, salt and bicarb of soda into a large bowl.


Measure the yoghurt and honey into a jug, and mix. Then add a third of the dry mix to the butter and eggs, followed by half of the yoghurt and honey. Another third of the dry mix, the remainder of the liquid, and then the remaining dry ingredients, and fold gently. 


Finally add the ginger tossed in flour - coating the ginger pieces in flour helps to keep them dispersed throughout the cake, rather than all sinking to the bottom of the tin. 


Place in the oven and bake for an hour and 15 minutes, or until a skewer inserted comes out clean. Take out of the oven and leave to cool in the tin for 10 minutes before turning out onto a cooling rack. 


This cake would be delicious served as it comes, however as mine was for a birthday cake I added a little decoration. I mixed some icing sugar with water to form a glace icing, and poured it over the cake allowing it to run down the sides in a natural way. I drizzled a little honey over the top of the icing, and then arranged my fondant bees and a few sugarpaste blossoms across the top. 


Sunday, 20 January 2013

Microphone Cupcakes: A How To Guide

Microphone Cupcakes

Yesterday I uploaded a post about my cousin's birthday party, where I made her a One Direction cake, and a batch of these microphone design cupcakes. I mentioned that I had a few troubles along the way, and I wanted to share with you all a step by step how I made these, and a few things I would do differently next time. 

To make these sparkly little treats, you will need the following;

- A good quality sponge cake batter
- Ice cream cup cones (the ones with the flat bottoms)
- Edible silver spray - I used Dt Oetker's Shimmer Spray in silver, from Tesco
- Plenty of kitchen roll
- Buttercream frosting
- Coloured sugar crystals - I used silver and pink here, but would have preferred black (my local shop was out of stock)
- Liquorice and/or strawberry laces
- A skewer
- A small amount of royal icing in a piping bag

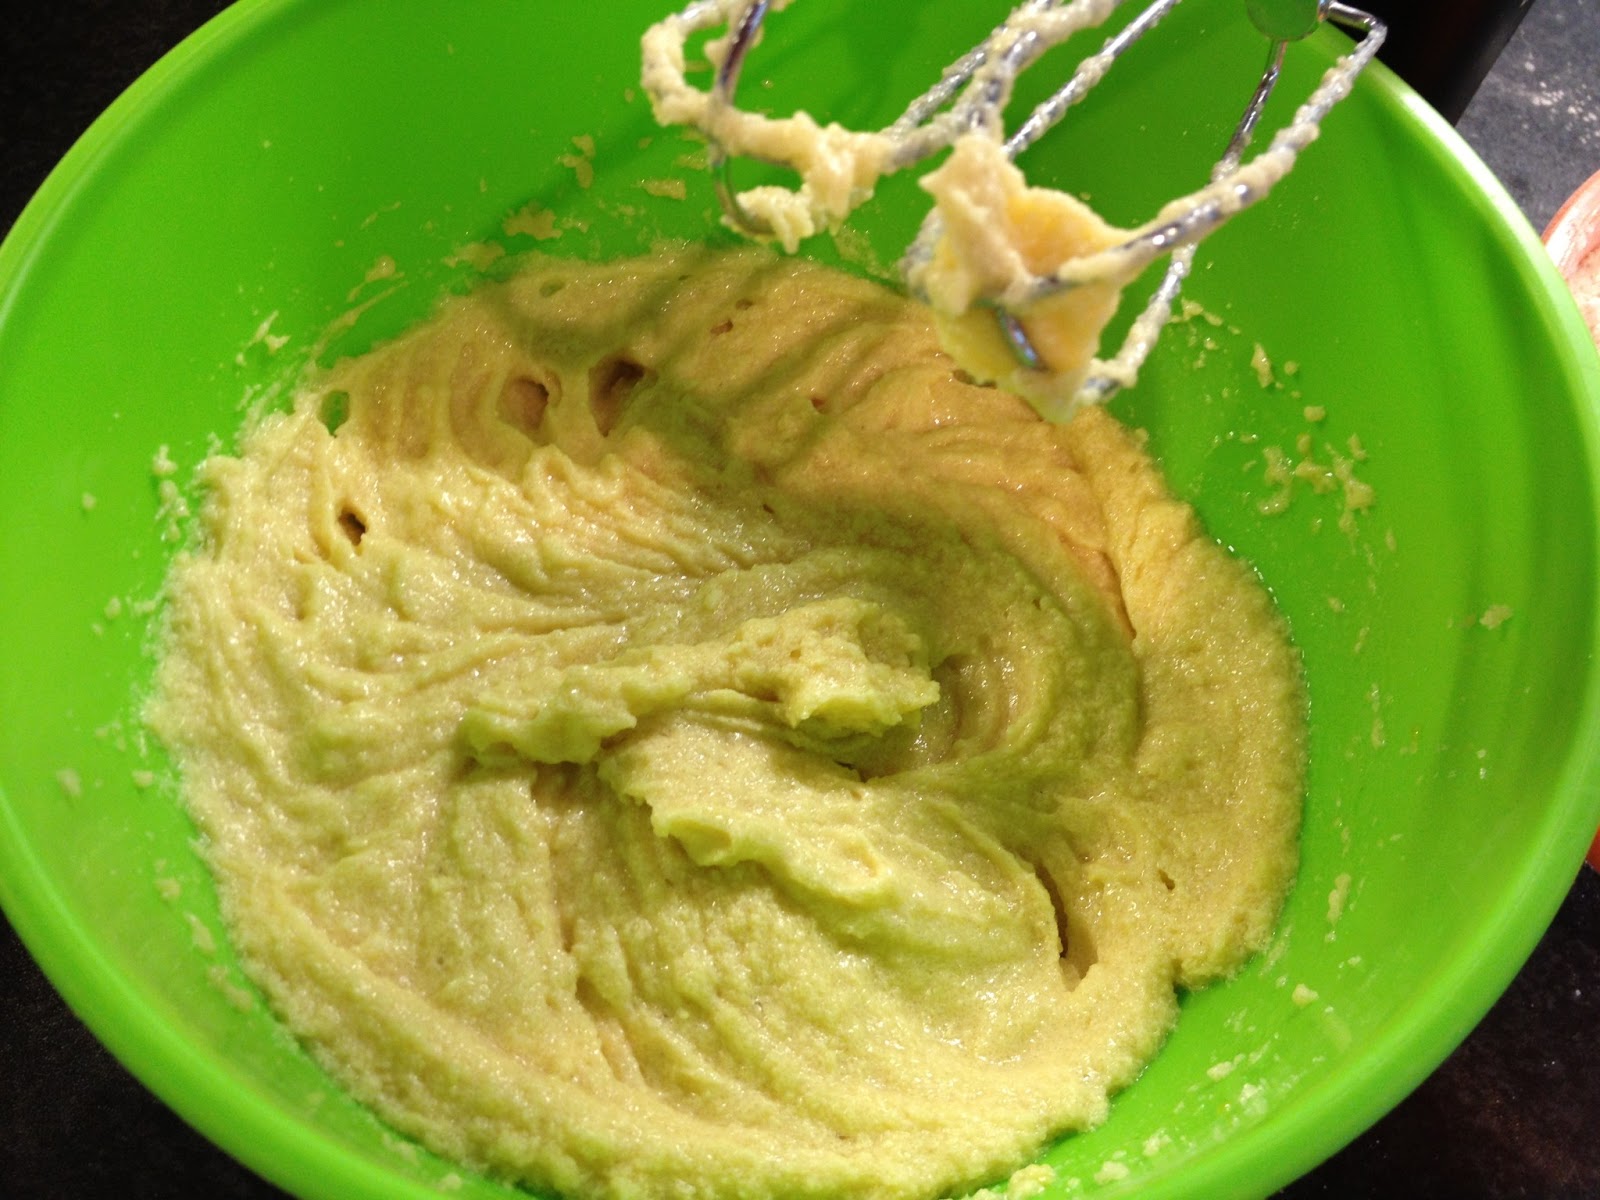
So, to start, we bake the cupcakes in the ice cream cones. I love this method for two reasons, one because you don't need to use a muffin or bun tin, because they stand up by themselves, and two, because the sponge bakes really even inside, without forming a crust on the edges, so it is really soft and light to eat. 
Based on a sponge recipe that calls for equal parts butter, sugar, egg and flour, I found that one egg (approx 54g) and equal of the rest of the ingredients filled 4 cones. For the party, I used 6 eggs, and 330g of the additional ingredients to fill 24 cones. 


Divide the mixture equally between the cones, place on a baking tray lined with a sheet of baking parchment, and bake in the oven at 180 degrees for about 20 minutes, or until the tops are firm to touch. 

Remove from the oven, and set to cool on a cooling rack. At this point use a small pallet knife to remove any overspill or edges from the sponge, so that all the cones are even ready for the microphone top to be iced.
Once the cones are cool, the next step is to make them appear metallic. I used here a Shimmer Spray from Dr Oetker. I found this product easy to use, however you need to make sure that you have covered every available surface with kitchen roll, as the glitter gets everywhere. I used two cans of the spray to cover 24 cones, but to be honest, they would have looked better if they had a third coat as well - you can still see the cone colour through the silver. The cans are quite expensive (£3.99 each) so I would have hoped that they would have stretched further. I also found that once they are coated the silver comes off on your fingers so keep handling to a minimum.

Once the cones are dry to touch, then we ice the top of them. Pipe or spoon buttercream frosting onto the top of the sponge. We will be making a dome shape, but the buttercream can just be applied like the picture. 

Empty the sugar crystals into a bowl and dip the buttercream portion of the cone in. I have to apologise here, I had too many hands full and couldn't photograph the process. 

Anyway, rotate the cone so that the buttercream is completely covered in the sugar crystals. Remove, and use the palm of your hand to to gently cup the top, moulding the frosting and crystals into a dome shape as per the photo. 

I had some issues here getting hold of black sugar crystals. My local cake shop explained that they could order in for me, however I didn't have the luxury of time, so had to settle for silver. Again, I bought two pots, yet they didn't stretch anywhere near as far as I had hoped. I made 12 silver, and then had to make 12 in pink as I had some in my cupboard. 


I also added some black edible glitter to the tops of the domes to darken the colour slightly. 

Next step is to create the band around the base of the dome. I used black liquorice on the silver topped cones, and red strawberry laces on the pink topped cones. For the liquorice bands, as I was using quite a thick liquorice so cut shorter lengths, and fixed two bands around each of the cones. You need a small amount of royal icing to 'glue' the liquorice into place. Personally I didn't have time to make up a batch of proper royal icing, so used one on my emergency Dr Oetker Designer Writing Icing bags... ;-)

For the red strawberry laces, because they are a lot thinner, I was able to stick the start of the lace in place and then wind the lace around the cone several times to create a thicker band. 
The final step is to create a 'wire' from the base of the microphone leading to the amp. For this step, we need a skewer, the royal icing, and some short pieces of the liquorice and strawberry laces. 

Using the skewer, carefully make a small hole at the base of the cone. Try to hold the cupcake by the liquorice band here to stop too much of the silver spray rubbing off onto your hands. For the strawberry laces, a single hole from the skewer is perfect, with the thicker liquorice I had to insert the skewer twice to make a wider hole. 


Pipe a small amount of icing into the hole as a glue, and then insert the liquorice into the centre of the cone. This forms the amp wire from the bottom of the microphone. I chose to secure the liquorice up in a slight twist as per the picture with a little blob of icing, but you could equally leave it loose. 

And that's it! A batch of cute little microphone cupcakes, perfect for any music themed party! 


Saturday, 19 January 2013

The One Direction Themed Party

Oh my goodness, I'm exhausted! I spent this afternoon at my cousin's 11th birthday party, surrounded by seventeen 10 and 11 year olds in a crowded function room at The Three Merry Lads in Cutthorpe, Barlow. Not having kids of my own yet, I haven't been to a kid's birthday party in a long long time - to be honest, the last time I did, I was a kid myself. So after today's crash course in kid's birthday parties, I realise now that these events are loud, brash, hyperactive, borderline hysterical, and I love them!

My super little cousin is totally obsessed with One Direction (aren't all young girls at the moment?) and I don't think anyone hesitated in deciding how to theme her party. The team at The Three Merry Lads have to be commended for the effort they put into decorating the function room; helium balloons, One Direction posters plastering every available square inch of wall space, beautifully laid tables and elaborate virgin cocktails for the guests. It was a really great effort from the team, and they were incredibly accommodating in the face of so many kids running around their rooms (and so many parents hiding out in the bar!). 

For my part, my cousin and I had long ago established that she wanted a One Direction cake for her birthday. I had part designed it in my mind already, and when I sat down to work out the detail it came together quite well. The cake is a rich chocolate Devil's Food Cake, filled with a milk chocolate ganache. After covering in navy blue fondant, I iced the names of the band-mates around the side, and punctuated them with pink and red sugarpaste hearts. For the 1D logo on the top of the cake, I googled and printed a copy of the logo, and then cut a stencil out of baking parchment. After gently pinning the stencil to the top of the cake, I used Dr Oetker's Shimmer Spray in silver to graffiti the logo onto the surface of the cake. 

One Direction Cake

Since there was going to be a party, I decided to supplement the cake with a batch of cupcakes, but I wanted to make them fit the theme. I decided to try out these cute microphone cupcakes, baked in ice cream cup cones. I had a few issues executing these, mostly due to the lack of supplies from my local cake shop at the last minute (I could not find black sugar crystals anywhere), and the fact that the silver crystals I had, and the silver shimmer spray did not stretch anywhere near as far as I expected, however I was really pleased with how they came out, and they were an absolute hit at the party. I am going to post up some step by step photos tomorrow and show you how I made them. 

Microphone Cupcakes

All in all, when the cake and cupcakes were laid out on the table they looked pretty good, and the kids approved, which I am holding as a personal achievement - pre-teens being a notoriously tough crowd! As I mentioned at the top of this post - I'm exhausted, so I'm off to bed with a well-deserved hot chocolate and a hot water bottle. Night All! x

One Direction Cake and Microphone Cupcakes

Blowing out the candles!