Hi! Welcome to my blog. I am a major foodie, with a haphazard cooking philosophy, currently making that transition from cooking and baking for friends and family to 'wonder if I could make this my career'. Follow me for recipes, the outcomes of a few experiments, and general lovely foodiness. Opinions, reviews and recommendations are all my own.
Showing posts with label Cheesecake. Show all posts

Monday, 19 August 2013

No-Bake Amaretto Cheesecake

This is a really simple no-bake cheesecake recipe that packs a punch, and tastes so much more complex than it really is. I made this recently for a girly night in, and it went down a storm! Amaretti biscuits and lashings of sweet amaretto liqueur paired with creamy soft cheese work so well together, this creation has gone straight to the top of my favourites list and I will be making this again and again! 


Ingredients

For the base;

200g amaretti biscuits
7 teaspoons amaretto liqueur
50g butter

For the cheesecake filling;

300g cream cheese
50g icing sugar
3 tablespoons amaretto
150ml double cream

Method

First make the biscuit base. Melt the butter in a saucepan over a gentle heat, then set aside. Crush the amaretti biscuits either using a food processor or with a rolling pin.


Add the melted butter and the amaretto and stir through so that all of the biscuit crumbs are evenly coated.


Spread the biscuit mixture into an 8 inch tin (preferably loose bottomed as it will be easier to remove) and press down firmly to form a solid base. Place in the fridge and chill for an hour until set. 


Next make the cheesecake filling. Put the cream cheese, amaretto and icing sugar in a large mixing bowl and beat together. Then add the double cream, and whisk the mixture until combined and the cream has thickened. The mixture should hold a stiff peak. Transfer the cheesecake mixture to the tin with the set base.


Spread the mixture evenly across the base, making sure there are no air pockets. Level the top, and return to the fridge for at least 3 hours to set firm. 


To serve, run a knife around the edge of the tin to release the cheesecake, and remove from the tin. Transfer to a plate to serve. 


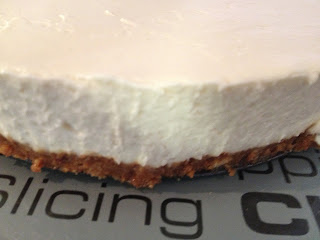
This cheesecake is thick, and creamy, with the sweetness coming from the amaretto liqueur instead of too much sugar. The base is more moist than a normal digestive biscuit base due to the structure of the amaretti biscuits and the added amaretto. 

Monday, 4 February 2013

Coconut and Mango Cheesecake

Coconut and Mango Cheesecake

Every few months a group of girl-friends get together for a night of good food, good wine, and good girly chatter. We assemble from the far flung corners of the country, and rotate which house we gather at, and each hostess attempts to theme the evening to a particular cuisine. To date we have tackled classic French dishes, rustic Italian, spicy Mexican, Spanish tapas, American and Irish feasts to name but a few. This weekend it was Tara's turn to host, and she truly raised the bar with a Caribbean banquet. We were served Caribbean Roast Fish, Jamaican Rice and Beans, and Coconut and Tomato Spicy Chicken, with a fresh Mango Salad. All of the linked recipes are really worth a try. 

I had spoken with Tara before the night, and asked if there was anything she wanted me to bring (and by bring, yes I do mean bake). She requested a Coconut and Mango Cheesecake. I searched and searched for a recipe, but couldn't find anything anywhere, so I set about creating my own. I have to say I was really pleased with how this dessert came out, and I really wanted to share this recipe with you all. The gingernut base has a real kick, which is offset by a super smooth creamy cheesecake filling, with just a hint of coconut. The cheesecake is only slightly sweetened so it has a fresh taste, and you can have a nice big slice, and the whole thing is topped off with a fruity mango and lemon coulis. 


Ingredients:

For the Gingernut base;
  • 250 grams gingernut biscuits
  • 100 grams unsalted butter
For the Coconut Cheesecake
  • 600 grams soft cream cheese
  • 150 ml thick double cream
  • 150 ml coconut milk
  • 200 grams condensed milk
  • 1 tsp coconut essence
For the Mango Coulis:
  • 250 grams tinned mango (when drained)
  • 1 tbsp syrup from the tinned mango
  • 3 cubes of lemon jelly
Start by lightly greasing an 8 inch spring-form tin.

To make the gingernut base, gently heat the butter in a saucepan until melted, but do not allow to start to boil. Set to one side. Crush the gingernut biscuits as fine as possible. I use a small blender to crumb the biscuits as that way you get an even and fine crumb, however if you don't have one you can use a rolling pin. 


Mix the biscuit crumbs and the melted butter together, and combine fully. Transfer to the tin, and press down evenly. Place in the fridge for at least 30 minutes to set. 


Meanwhile, prepare the cheesecake filling. Put the cream cheese into a large bowl, and beat until smooth and creamy. Add the condensed milk and coconut milk, and beat again until fully combined. In a separate bowl, whisk the double cream until stiff. Add to the cream cheese mixture and fold through completely. 


Transfer to the tin, and smooth over, making sure that the mixture is pressed all the way to the sides, and smooth and even on top. Return the tin to the fridge to allow the cheesecake to start to set. 


To make the mango topping, open the tinned mangos, and place the mango in a clean blender, making sure to retain the syrup in the tin. Purée the mangos, and then transfer to a saucepan. Add 1 tablespoon of the syrup from the mango tin, and heat gently. Add the jelly cubes to the heated mango, and stir until completely dissolved. Remove from the heat, and set aside to cool completely. 


When the mango mixture is cooled, pour over the cheesecake, spread evenly, and return to the fridge. Chill overnight to allow all the layers to fully set. 


To serve, run a knife around the edge of the cheesecake, loosening it from the tin, before releasing the catch and removing the tin. Serve, and enjoy! 


Sunday, 30 December 2012

When Two Become One: Cheesecake Topped Chocolate Brownies

This tray bake combines two of my favourite desserts, and I love that someone looked at a chocolate brownie, and decided that the best thing to do with it would be to cover it in another dessert. 

I have been wanting to test out this for a little while now, and as I have a party to cater for next week, I thought if I could master them they would make a great addition to the finger buffet. I have seen quite a few American recipes for Cheesecake Topped Brownies, however this time I have amalgamated my favourite brownie recipe, and added a simple baked cheesecake topping.

So, the ingredients needed are as follows;

For the Brownies

  • 115g Dark Chocolate, broken into pieces
  • 115g Butter
  • 300g Golden Caster Sugar
  • 1 tsp Vanilla Extract
  • Pinch of Salt
  • 2 Eggs
  • 140g Plain Flour
  • 2 tbsp Cocoa Powder
For the Cheesecake Topping
  • 200g Cream Cheese
  • 75g Golden Caster Sugar
  • 2 Egg Yolks
Line a 20cm square tin with baking parchment and grease.


Start by melting the chocolate and butter together over hot water, stir through until smooth. Add the sugar, vanilla extract and salt, and combine.


Beat the two eggs into the mixture.


Sift the flour and cocoa into a large mixing bowl.


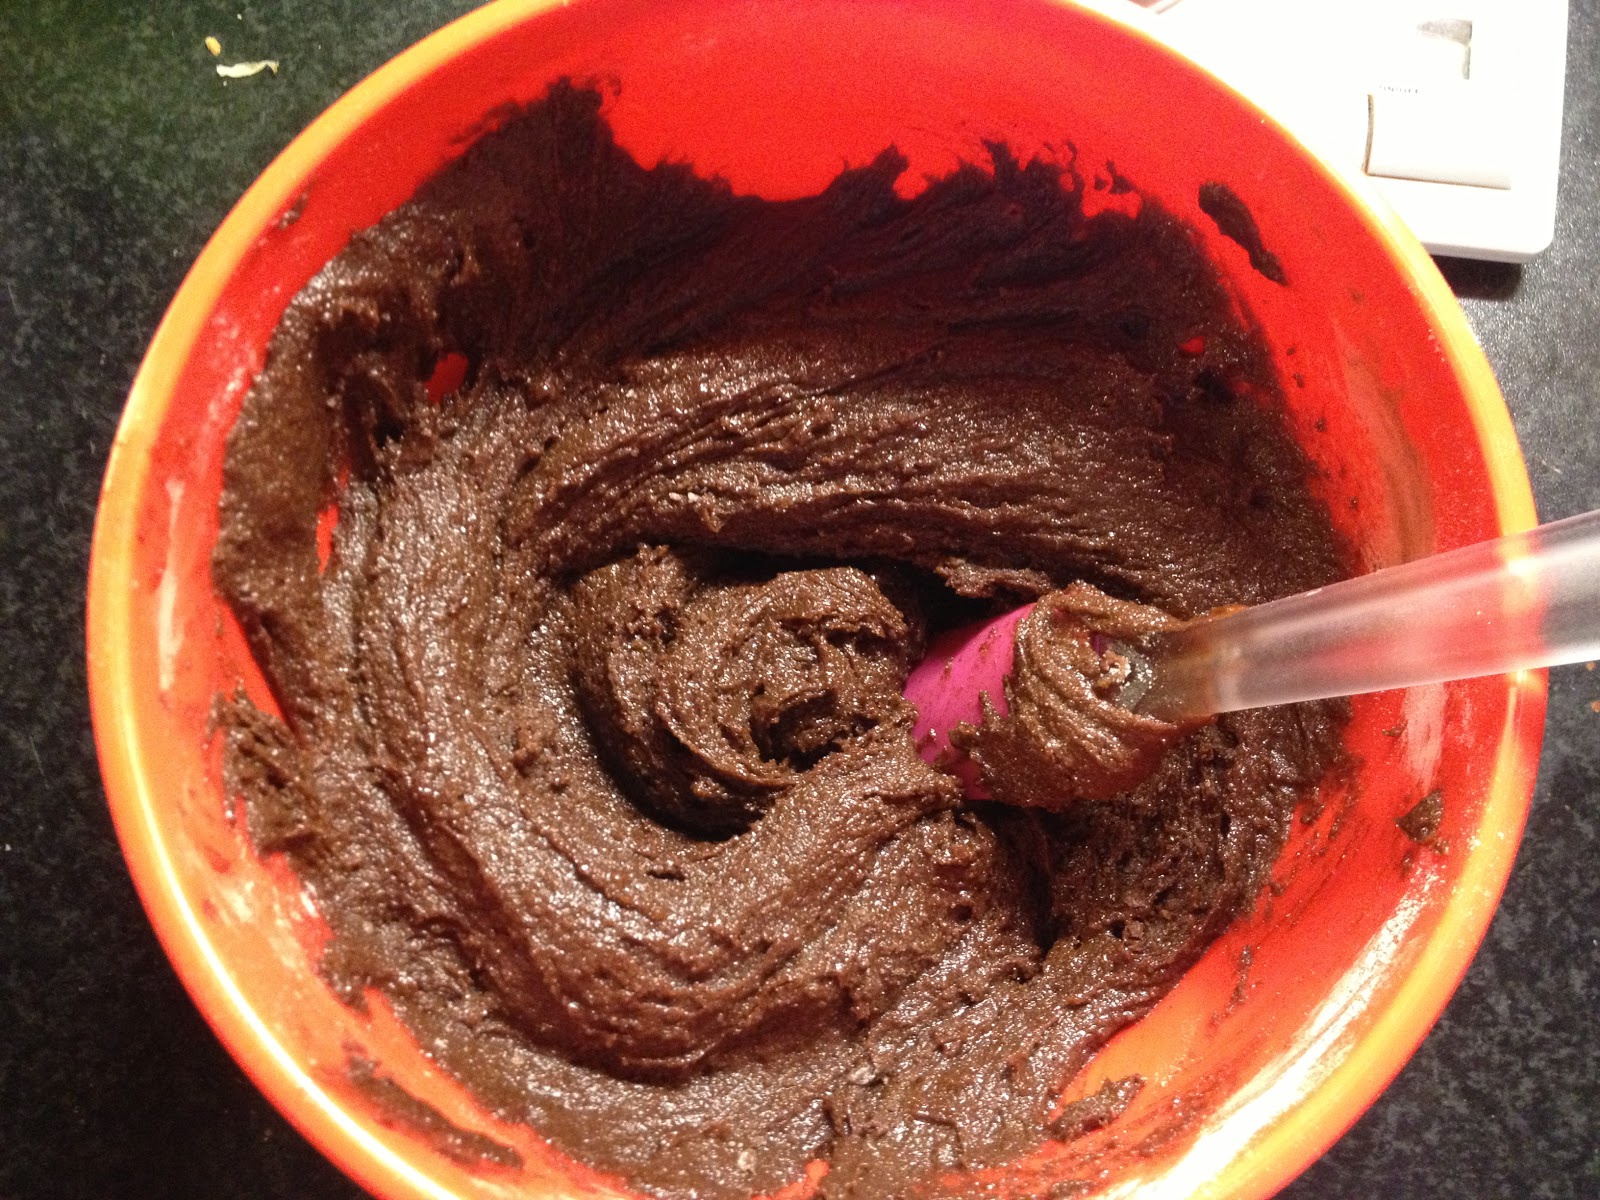
Add the chocolate mixture to the flour, and fold through until well combined.


Keep a couple of large spoonfuls of the mixture aside for the top of the bake, and transfer the remainder to the greased tin, spreading out evenly to the edges.


In a separate bowl, beat together the cream cheese, caster sugar and yolks together until completely blended.


 Pour the mixture on top of the brownie mixture.


Add the remaining brownie mixture to the tin in random blobs, and then swirl through with a toothpick as below.


Bake for 30 minutes at 180 degrees, or until the top is a golden brown, and a toothpick inserted into the middle comes out clean.


Leave to cool and cut into small 1 inch squares.