Hi! Welcome to my blog. I am a major foodie, with a haphazard cooking philosophy, currently making that transition from cooking and baking for friends and family to 'wonder if I could make this my career'. Follow me for recipes, the outcomes of a few experiments, and general lovely foodiness. Opinions, reviews and recommendations are all my own.
Showing posts with label GBBO. Show all posts

Wednesday, 28 August 2013

Paul Hollywood's English Muffins - GBBO Technical Challenge Two

I was quite intrigued to see that this week's technical challenge on The Great British Bake Off was English Muffins. I've been making these myself for the last few months, and have found them pretty straight forward to make, so I was curious to see Paul's recipe and how it differed to the one I've become attached to. 

Muffins are made from an enriched dough, and the Paul Hollywood recipe uses butter and milk to do this, a variation from the natural yoghurt version I have been making. You can find Paul's recipe on the BBC Food website here

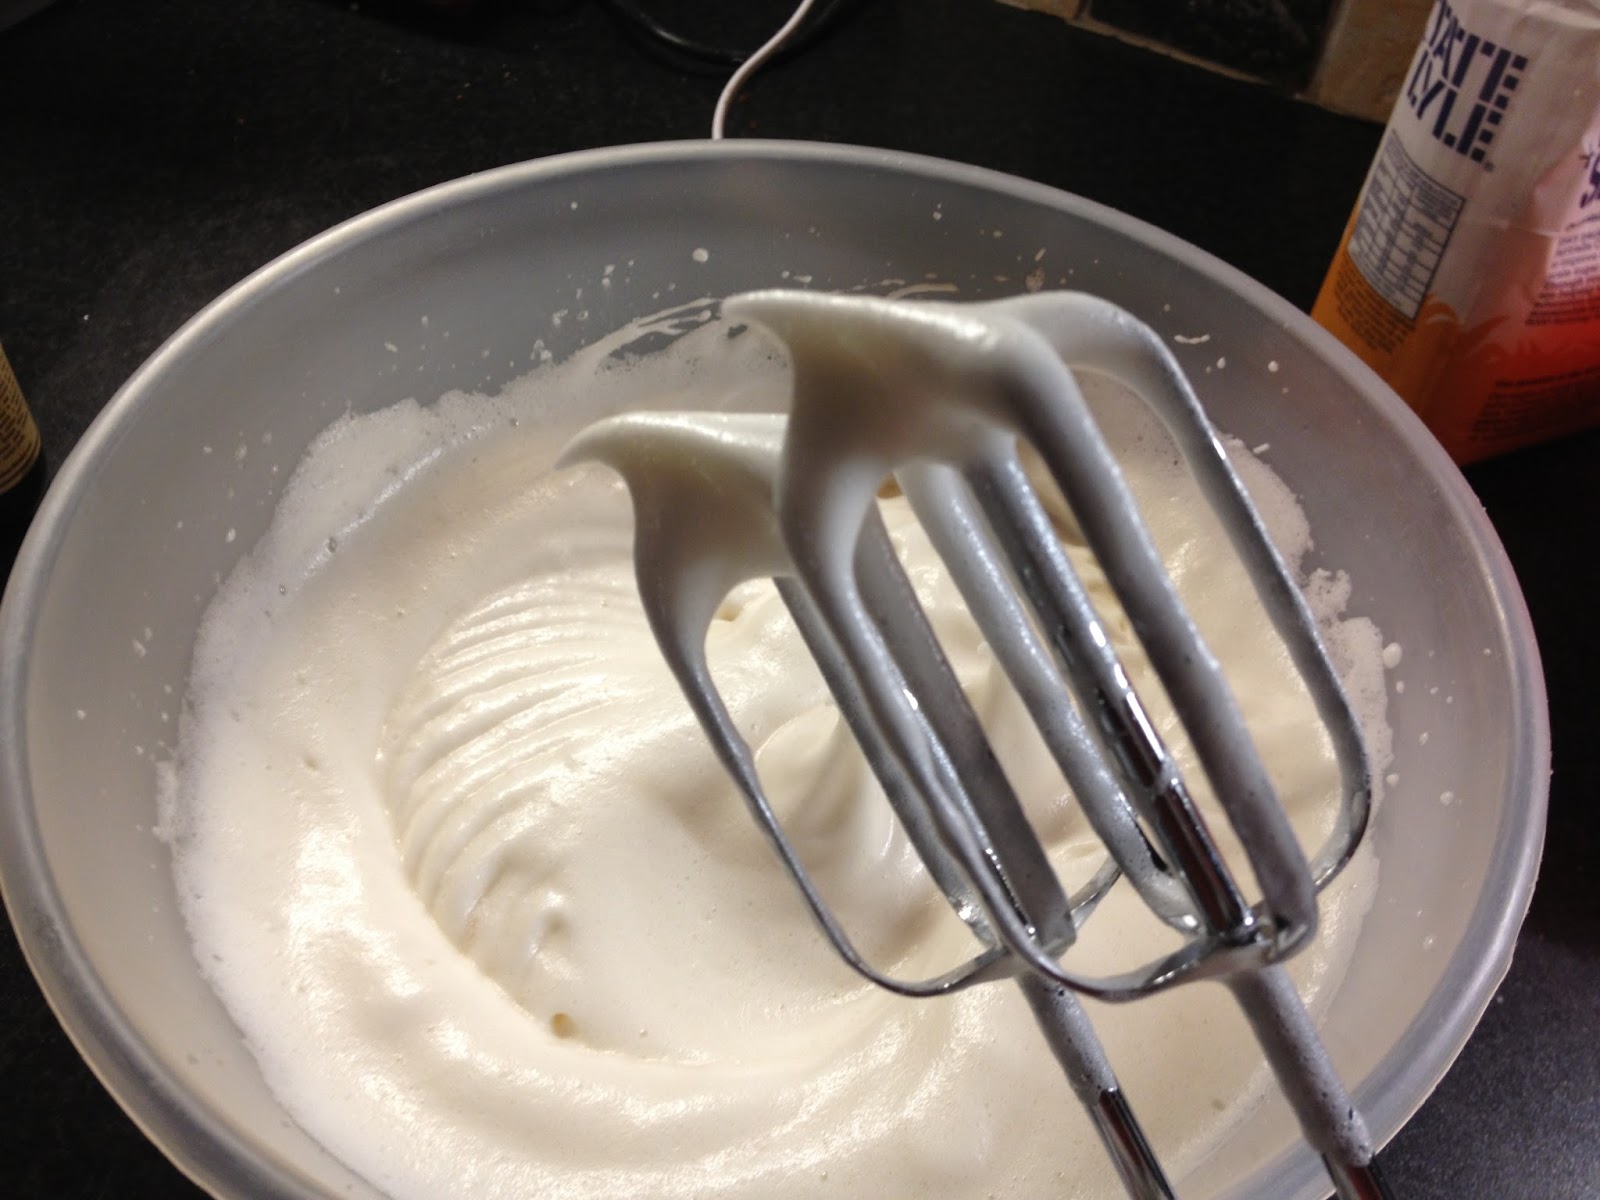
Paul Hollywood English Muffins - Butter and Milk Enriched Dough

I found Paul's recipe easier in the execution, all the ingredients in one bowl and mix, then knead, however it makes for a very wet dough that is difficult to knead. In the end, I had to attack mine with dough hooks attached to my hand whisk. The dough proved well enough, but after cutting the circles out the muffins proved sideways rather than upwards, leaving some very large but slightly flat muffins.

Paul Hollywood English Muffin - Butter and Milk Enriched Dough

Overall both Gary and I agreed that we preferred the taste of the original recipe we were used to, although these were still of course much nicer than shop bought. I really think that the natural yoghurt gives an extra depth of flavour to the muffins, and that will always be my preferred recipe, though I may use Paul's as a back up if I don't have any yoghurt to hand.

English Muffins - Natural Yoghurt Enhanced Dough

I am re-posting my muffin recipe from a few months ago here, as it is my preferred way of making them.

Ingredients 

7 grams fast action yeast
125 ml tepid water
75 grams natural yoghurt
225 grams strong white bread flour
1/2 teaspoon salt
handful of semolina

Method
  • In a medium sized bowl, dissolve the yeast in about half of the water. Add the remaining water and the natural yoghurt, and mix well until smooth and combined. 
  • Sift the flour into a large mixing bowl, add the salt and quickly stir. 
  • Pour the liquid mixture into the flour, and mix together to make a dough.
  • Turn out onto a lightly floured surface, and knead well for 5 - 10 minutes until a smooth pliable dough is formed. Return the dough to the bowl, cover and leave to prove for 1 hour, or until doubled in size. 
  • Turn the dough back out on the surface, and knead quickly to knock back. Roll the dough out to about 2 cm thick, and cut out rounds about 3 inches wide. Knead the offcuts back together, re-roll and continue to cut out rounds until all the dough has been used. 
  • Place the rounds on a lightly floured baking tray, sprinkle the semolina over the tops, cover, and leave again to rise for about 40 minutes.
  • Heat a little oil in a large frying pan. Place the muffins in the pan, and cook for about 7 minutes on both sides. Keep the heat down low so as not to burn the outside of the muffins before the inside cooks. 
  • Set aside to cool. These muffins can be kept for a couple of days in an airtight container, just halve and toast and they are ready to eat. 

Sunday, 25 August 2013

Mary Berry's Angel Food Cake - GBBO Technical Challenge One

Forget the start of the new football season. Forget that The X Factor returns to screens next weekend. Forget the release date of that big summer blockbuster. Because, in our community, there is only one date that matters - the launch of this years series of The Great British Bake Off.

On Tuesday of this week the show kicked off in spectacular style, as we all expected it to. This year, I will be blogging my thoughts along with the show for By Book Or By Cook, the marketing department for Orion Books cookery department. You can read my review of the first episode here. Check back every week to for the latest episode review. 

Meanwhile over on this site, each week I will be tackling the technical challenge from the show. This is the section of the show where the contestants are given a bake that they haven't prepared for, with a half completed recipe to test their technical knowledge in piecing it together. 

Vanilla and Blueberry Angel Food Cake

This week, the technical challenge is Angel Food Cake. This is a type of cake made from just egg whites, sugar and flour, to form a fat free, light, fluffy cake that almost melts in the mouth. The version that Mary Berry challenged the bakers with was flavoured with lemon zest, and drizzled in a lemon curd with passion-fruit seeds. I think the inspiration for the lemon curd topping comes from the fact that the cake recipe calls for 10 egg whites, that's a lot of egg, and a lot of leftover yolk. You can find Mary Berry's exact recipe from the show is here on the BBC Food website

I already had a couple of jars of lemon curd, and didn't really fancy making more, but I really didn't fancy wasting the 10 egg yolks. The solution that I found came in the shape of this amazing product - Two Chick Liquid Egg Whites. I found mine in the ready-rolled pastry section of my local supermarket, next to the butters, and it comes in a 500ml carton, which is the equivalent of 15 medium egg whites. Perfect!

Two Chicks Liquid Egg White

Thanks to the show, and the mishaps that befell some of the contestants, I had a good idea of the pitfalls in making this cake, and combined with the fact that I had Mary's full recipe to hand, I felt pretty confident. The only area for concern was that I don't own a specialist Angel Food Cake tin, with the little feet. The tin is really important for the cake, for two reasons. One, because the egg white is the only raising agent in the cake, the tin cannot be greased, and shouldn't be non-stick, to allow the cake to stick to the sides of the tin in order to rise. And secondly, the cake has to be cooled upside down in the tin, to prevent it sinking back into itself! The closest I had was this 12" springform tin, with a bundt style insert. It'd have to do!


As I decided against the lemon curd version of the recipe, I had a look at what was in the house, and settled on a punnet of blueberries that was in the freezer. So here is my Vanilla and Blueberry Angel Food Cake, adapted from Mary Berry's recipe from the Great British Bake Off. 

Vanilla and Blueberry Angel Food Cake

Ingredients

333 ml liquid egg white, or 10 medium egg whites
300 grams white caster sugar
125 grams plain flour
1/2 teaspoon salt
1 teaspoon cream of tartar
2 teaspoons vanilla extract

300 ml double cream
2 tbsp icing sugar

200 grams blueberries
1 tbsp vanilla sugar
1 tbsp water

Method

Pre-heat the oven to 180 degrees. Sift the plain flour into a mixing bowl, and add 200 grams of the caster sugar and set aside. Put the egg whites in a large mixing bowl, and whisk with a hand whisk for around 30 seconds, or until frothy...


Add the salt, cream of tartar and the vanilla extract, and whisk again to soft peaks. You can tell the whites are at soft peak when you remove the whisk, and the whites form a little peak that doesn't quite hold its shape...


Next, add the remaining 100 grams of caster sugar a spoonful at a time, and stir into the whites by hand. Once all of the sugar has been added in, use the whisk to whip the eggs up to a firm peak, but not stiff. The mixture will turn glossy...


Sprinkle around a third of the flour and sugar mix over the top of the whipped whites, and fold in gently, making sure not to knock any of the air out of the eggs. Add the remaining flour mix, and fold through again until combined...


Transfer the mixture to the tin. Gently shake the tin to make sure that the mixture is evenly distributed and there are no air pockets. Put the tin in the oven, and bake for around 40 minutes...


Check the cake after around 30 minutes, it is ready when a skewer inserted into the centre comes out clean. Once the cake is cooked, remove from the oven, and then it needs to be cooled upside down to prevent it from sinking. Although my tin wasn't the right Angel Food Cake tin, the insert that converts it to a bundt tin is taller on the inside than the edges of the cake, so when I turned it upside down, the cake was suspended above the cooling rack...

Angel Food Cake cooling suspended upside down

Whilst the cake is cooling, prepare the blueberry compote. Place the blueberries, vanilla sugar and water in a pan, and cook over a gentle heat until the blueberries have broken down, and the mixture coats the back of a spoon. Transfer to a dish and set aside to cool. 

Once the cake has cooled, slide a knife around the inner and outer edges to release the sides. Use a pallet knife to release the top of the cake from the base. This was the only problem I encountered with my tin, as the scalloped design was a little tricky to release without the tin being greased, therefore some of the top of the cake cake away, but not in any great catastrophe...


Whisk the double cream and icing sugar together until thickened to soft peaks, the coat the top and sides of the cake, smoothing over with a pallet knife...


Spoon the cooled blueberry compote over the top of the cake, and refrigerate until set...


This cake is so light and fluffy, Paul described it as tasting like marshmallow on Tuesday's show and he was absolutely right! I've never eaten an Angel Food Cake before, and this is like no cake I've ever tasted, but my goodness is it good! Because it's so light, you can have a good hearty slice and it doesn't sit heavy at all. The vanilla and blueberry combination is always good, and the tartness of the blueberry compote here is the perfect balance to the sweet cream and fluffy vanilla cake. I will definitely be experimenting with Angel Food Cake more in the future!


Friday, 8 February 2013

Custard Slices: GBBO Comic Relief Challenge Three

So far in my self-inflicted challenge to re-create the Technical Bakes from the Comic Relief GBBO episodes, I have attempted Chocolate Eclairs, and Bakewell Tart, with some reasonable successes. I'm not going to lie - I got a little bit cocky. So I decided that the third challenge to face would be the Custard Slices. For this, I am using Paul Hollywood's recipe from the BBC Food site.

I dutifully purchased the required ingredients, and tonight set about reading the recipe and preparing to conquer the Custard Slice. Then I realised two things. Firstly, I have never made rough puff pastry before in my life... and secondly, I have never made patisserie crème, nor have I ever successfully mastered custard from scratch. Needless to say, my confidence was immediately shot. 

None-the-less, I bravely opened the packet of flour, and started sifting. As with the previous challenges, I will copy the recipe and instructions below, with some photos of the process. These are my main notes from the recipe.


Making the rough puff pastry was surprisingly straight-forward, the instructions were clear - the key I figured out was to handle it as little as possible. I only used about two thirds of the water stated in the recipe until the pastry came together, so stopped adding it then. The rolling, folding and resting sequence is quite time consuming, in fact this recipe is one for a leisurely afternoon or evening bake, as there are lots of steps for mixing, cooling, assembling, and quite a few breaks in between. (It does give you plenty of time to clean up and wash up in between stages though).

I was quite pleased with my pastry, although both sheets did puff up more on one side than the other, and the bottom sheet flaked quite a bit when I transferred it to the tin. 

The patisserie crème was the bit that I was most daunted by, and I think I cooked it a touch too long as I had to work really hard to get it through the sieve at the end but other than that I managed to follow the recipe fairly uneventfully. 

I assembled the pastry and patisserie crème, and finally spread the icing over the top layer. As both my sheets of pastry were a bit bumpy, I turned the top sheet over so that the flat bottom side was facing upwards (I'm all for using illusion to hide mistakes!). I drew on the lines of melted chocolate, and pulled a cocktail stick through to create the 'feathered' effect, and voilà! By no means perfect, but I was happy with the first attempt, and most importantly they tasted great! Home-made is always better than shop-bought! 

---

The Recipe: taken from the BBC Food website


Ingredients

For the rough puff pastry
  • 225g/8oz plain flour, plus extra for dusting
  • ½ tsp salt
  • 200g/7oz butter, chilled and cut into 1cm/½in cubes
  • 140-160ml/5-5½fl oz water
For the crème pâtissière
For the icing

Preparation method

  1. In a large bowl mix the flour and salt together. Rub in a third of the butter until the mixture resembles fine breadcrumbs. Then roughly rub in the remaining butter, leaving large lumps.


  2. Add the water a little at a time until the pastry just binds together (you may not need all the water).


  3. Tip the pastry out onto a floured work surface. Roll into a narrow rectangle about 2.5cm/1in thick.


  4. With the pastry vertically in front of you fold the bottom third of the pastry up onto the middle third then the top third down onto the other thirds. This is called a turn.


  5. Wrap the pastry in cling film and place in the refrigerator to chill for 10 minutes


  6. Take out of fridge and with a rolling pin roll out again into a narrow rectangle and repeat the turn as before.


  7. Chill again and repeat the rolling and turning once more, so a total of three times. Wrap the pastry in cling film and return to the fridge to rest.
  8. While the pastry is resting, make the crème pâtissière. Pour the milk into a pan and add the split vanilla pod and its seeds. Bring the milk mixture to the boil, then remove from the heat.


  9. Whisk the sugar, egg yolks and cornflour together in a large bowl.


  10. Pour out a little of the hot milk onto the egg mixture, whisking continuously. Whisk in the rest of the hot milk until well-combined, then return to the pan.
  11. Cook the mixture over a gentle heat, stirring continuously, until the mixture becomes thick. It will just come to the boil.
  12. Remove from the heat and pass the mixture through a sieve into a clean bowl. Add the butter and stir until melted and thoroughly combined.


  13. Leave to cool, cover with clingfilm and then chill before using.
  14. Pre-heat the oven to 220C/425F/Gas 7. Line two baking trays with baking parchment.
  15. Divide the pastry into two equal pieces and roll out both pieces to 20cm/8in square and 5mm/¼in thick. Then place each pastry sheet onto the lined baking trays, and chill for 10-15 minutes.


  16. Bake the pastry sheets for 10-15 minutes or until golden-brown and crisp. Set aside to cool.


  17. While the pastry bakes, line a deep 23cm/9in square baking tray with foil with plenty of extra foil at the sides. The extra foil allows you to lift out the assembled slices.


  18. Place one pastry sheet in bottom of the lined baking tray. (Reserve the prettiest piece for the top.)


  19. Spread the crème pâtissière evenly onto the pastry in the baking tray before placing other piece of pastry, on top. Refrigerate while making the icing.


  20. For the icing, sift the icing sugar into a bowl. Stir in cold water until thoroughly combined and set aside.
  21. Transfer the melted chocolate into a piping bag fitted with a small plain nozzle, and set aside to firm up slightly.
  22. Take the custard slice from the fridge and spread the icing over the top layer of pastry.


  23. Using the piping bag, draw ten parallel lines along the top of the icing in one direction. Using a tooth pick, pull parallel lines about 2.5cm/1in across the melted chocolate and icing in alternating directions to create a feathered effect.


  24. Place the slice back into the fridge to set.
  25. Cut the finished vanilla slice into eight pieces.


  26. Using the foil carefully lift the portioned vanilla slices out of the tray and place onto a serving platter.


Sunday, 3 February 2013

Mary Berry's Bakewell Tart - Great Comic Relief Bake Off Challenge No. 2

Earlier this week I blogged my intention to work through the technical challenges from the Great Comic Relief Bake Off, and shared the results of my first attempt at Chocolate Eclairs - post here

Today's challenge comes from Episode Two, and it is a great British classic - the Bakewell Tart. This challenge uses Mary Berry's recipe - found on the BBC Food website here. I'm not tackling these in the order of episodes particularly, in fact my only rule is to follow the recipe to the letter - a personal challenge for me as I have a natural urge to meddle with things! As we have spent the weekend visiting the in-laws, I decided to make a Bakewell Tart to take with us, as I apparently am unable to stop myself from arriving on people's doorsteps with hampers of baked goods, like some wannabe Bree van der Kamp (of Desperate Housewife fame), not that anyone has complained to date!


The Bakewell Tart was particularly important for me to get right, as I grew up twenty minutes down the road from Bakewell, and spent a huge portion of my childhood there playing in the park, feeding the ducks by the river, and sampling the local delicacy. I really felt I had to do this one justice for the 9 year old me.

I found this recipe really easy to follow, and everything came together really nicely. The only issue I encountered was that my flan dish is slightly larger than the 8 inches specified in the recipe, and because of that I had a little excess pastry case as the filling didn't come as far up the dish as it should have. But I'm being overly critical at that, the tart tasted delicious! I wouldn't change a thing about this recipe, and it's definitely going to become a firm favourite in our house!

---

THE RECIPE (taken from BBC Food)

For the shortcrust pastry
For the filling
For the icing

Preparation method

  1. To make the pastry, measure the flour into a bowl and rub in the butter with your fingertips until the mixture resembles fine breadcrumbs. Add the water, mixing to form a soft dough.

  2. Roll out the dough on a lightly floured work surface and use to line a 20cm/8in flan tin. Leave in the fridge to chill for 30 minutes.


  3. Preheat the oven to 200C/400F/Gas 6 (180C fan).

  4. Line the pastry case with foil and fill with baking beans. Bake blind for about 15 minutes, then remove the beans and foil and cook for a further five minutes to dry out the base.

  5. For the filing, spread the base of the flan generously with raspberry jam.


  6. Melt the butter in a pan, take off the heat and then stir in the sugar. Add ground almonds, egg and almond extract. Pour into the flan tin and sprinkle over the flaked almonds.


  7. Bake for about 35 minutes. If the almonds seem to be browning too quickly, cover the tart loosely with foil to prevent them burning.


  8. Meanwhile, sift the icing sugar into a bowl. Stir in cold water and transfer to a piping bag.

  9. Once you have removed the tart from the oven, pipe the icing over the top, giving an informal zig zag effect.


I am entering this bake into this month's Tea Time Treats, hosted by Lavender and Lovage and What Kate Baked, and run this month by Kate. The theme is 'Puddings' and I can't think of a better entry than this classic!