Hi! Welcome to my blog. I am a major foodie, with a haphazard cooking philosophy, currently making that transition from cooking and baking for friends and family to 'wonder if I could make this my career'. Follow me for recipes, the outcomes of a few experiments, and general lovely foodiness. Opinions, reviews and recommendations are all my own.
Showing posts with label Classic French. Show all posts

Saturday, 15 June 2013

Blueberry and Vanilla Midsummer Night Tarts

Apparently it's summertime... actually, we are only a week away from the summer solstice, or midsummer if you will, and although the weather is trying it's best to fool us, the scent of freshly cut grass and the wild honeysuckle in the hedgerows are giving the game away.


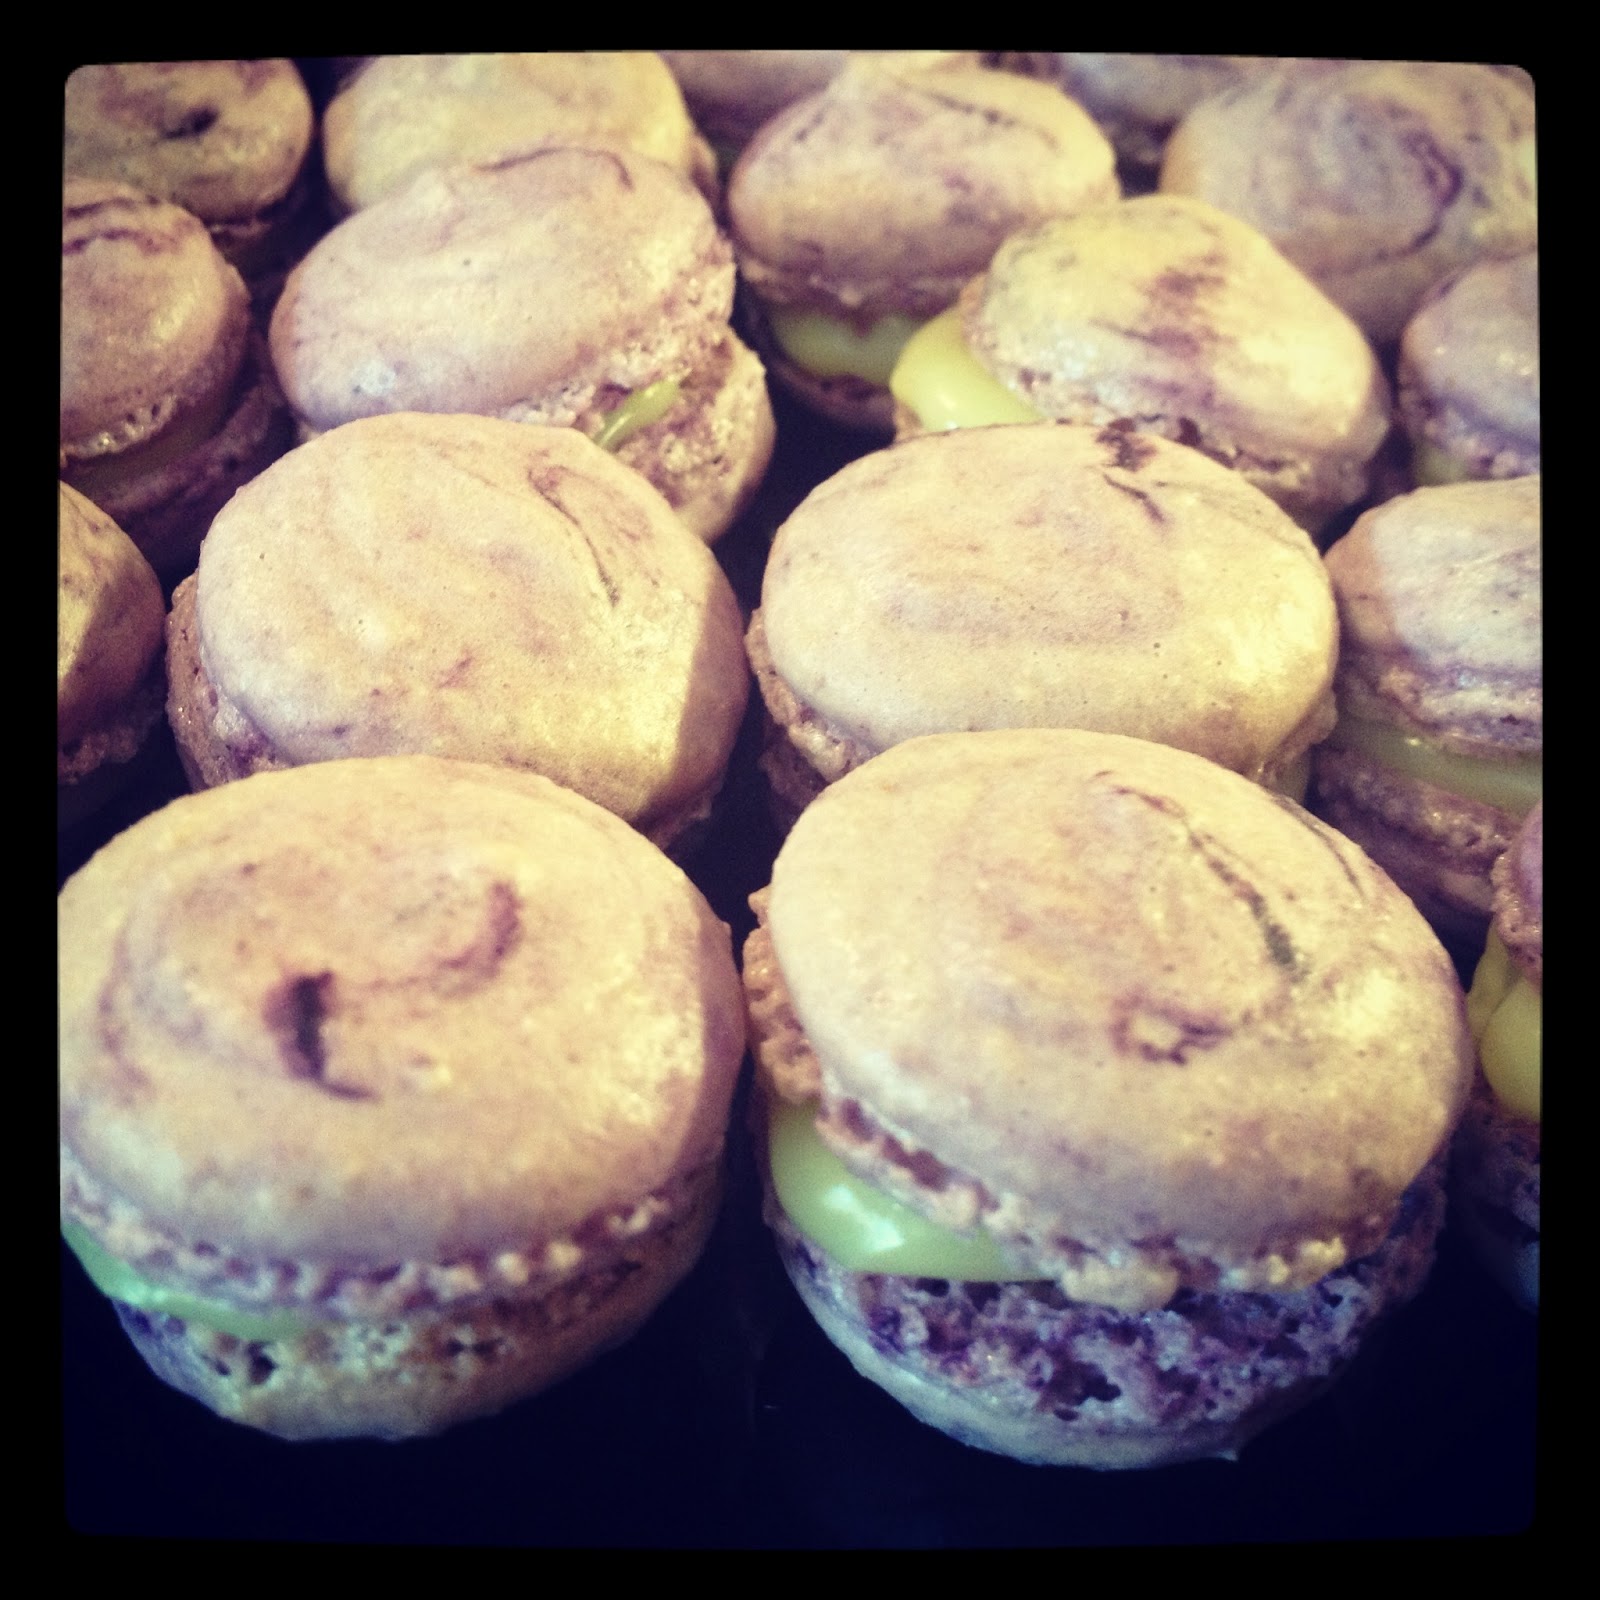
These fragrant, fruity little numbers are my ode to midsummer's night, with their shimmering violet surface, and enticing vanilla scent, they will make you forget that it might be slightly overcast and rainy outside. I am linking these tarts up to my Feel Good Food challenge, where the theme is blueberries, and to Classic French hosted by Jen at Blue Kitchen Bakes for her French Tart challenge. I have adapted this recipe from Jen's Strawberry Tarts, as I was impressed by the simplicity of the crème patisserie recipe she used (the previous one I had attempted was a lot more fiddly), and I have used a vanilla infused sugar from Sainsbury's Taste the Difference range throughout, rather than caster sugar and vanilla extract which you could use if you didn't have the infused sugar. 


Ingredients (makes 2 individual tarts)

For the Vanilla Shortcrust Pastry

50 grams plain flour
25 grams salted butter
1 teaspoon Sainsbury's Vanilla Infused Sugar
2 teaspoons cold water

For the Crème Patisserie

1 egg yolk
25 grams Sainsbury's Vanilla Infused Sugar
2 teaspoons cornflour
110 ml semi-skimmed milk

For the Blueberry Topping

1 tablespoon water
1 tablespoon Sainsbury's Vanilla Infused Sugar
50 grams frozen blueberries


Method
  • To make the pastry, sieve the flour into a mixing bowl, add the sugar, and the butter. Rub the butter into the flour until the mixture resembles fine breadcrumbs. Add the water, a teaspoon at a time, and mix through with a fork. Bring the pastry dough together with your hands into a small ball, wrap in clingfilm, and place in the fridge for at least half an hour. 
  • Once the pastry is chilled, roll it out on a lightly floured surface, and use it to fill two 4 inch tart tins. (I didn't leave mine quite long enough this time, and the edges cracked a little making an uneven finish, but hey - it all tastes good right!)
  • Blind bake at 180 degrees for 10 minutes, then remove the greaseproof paper/ foil and bake for a further 10 minutes until golden. Remove the pastry cases from the oven and set aside to cool. 
  • To make the crème patisserie, put the egg yolk, vanilla sugar, and cornflour in a large mixing bowl, and whisk together to make a smooth paste. Heat the milk gently in a saucepan until it just starts to simmer, then slowly pour the milk over the egg mixture, whisking constantly to prevent the egg from scrambling. 
  • Return the mixture to the saucepan, and place over a low heat, whisking continuously, until the mixture thickens to a custard-like consistency. Remove from the heat, leave to cool slightly, then fill the two pastry cases, spread the crème patisserie evenly, and refrigerate for 1 hour. 
  • Finally, to make the blueberry topping, put the water and sugar in a saucepan, and heat until the sugar has dissolved, and a syrup starts to form. Add the blueberries, and stir for 2-3 minutes, until the blueberries start to break down slightly. 
  • Remove the blueberries from the heat, let the mixture cool, then pour over the top of the tarts. Place in the fridge again to allow the blueberries to set, then serve. 


Wednesday, 29 May 2013

May's Classic French Round Up: Macarons

I am so pleased to have hosted this month's Classic French challenge for Jen over at Blue Kitchen Bakes, and even more so to see all the amazing flavours of macarons that have been submitted. I picked macarons as a theme because the flavours can be so versatile, but I don't think I expected the range of flavours and colours that I am about share! Stand back for a rainbow coloured feast for the eyes! 

Lavender and White Chocolate Macarons

I kicked off the challenge this month with Lavender and White Chocolate Macarons, using the new Taste the Difference Lavender infused Sugar from Sainsbury's and pairing the flavour with a white chocolate ganache centre. They were delicate and floral, and although not entirely perfect that really didn't matter to my tasters.

Kransekake - Marzipan Macarons

Next up was Choclette over at Chocolate Log Blog, who entered these unusual Marzipan Macarons, or Kransekake. Although Scandinavian in origin, these gorgeous looking biscuits are full of almonds, marzipan and egg whites, (not to mention covered in chocolate) and that makes them good enough for me!

Limoncello Macarons

Our next entry was Limoncello Macarons from Caroline from Caroline Makes. The very mention of Limoncello had my mouth-watering before I'd even opened the post, and the addition of a White Chocolate ganache filling makes these one of my favourite flavour combinations.

Double Raspberry Macarons

Lucy of Supergolden Bakes left me speechless with the photography of her gorgeous Double Raspberry Macarons, which her little boy affectionately calls 'macaroonies' and even has a little dance for! I'd be dancing if someone offered me one of these exquisite looking treats too! I love the decorative sprinkles...

Rhubarb and Vanilla Macarons

Next up were these bright pink beauties from Michelle at Utterly Scrummy, beautifully coloured pink and filled with a Rhubard and Vanilla Jam, I bet these flavours worked incredibly together, the Rhubarb and Vanilla Jam alone sounds delicious!

Vanilla and Blueberry Macarons

Janine at Cake of the Week entered these lovely golden Vanilla and Blueberry Macarons, which have a vanilla flavoured shell, and a bold blue blueberry swiss meringue buttercream filling that looks exquisite, they're just like little jewels!

Chocolate Macarons

It's A Fine Life entered these beautiful Chocolate Macarons, with a simple whipped cream filling. They were chilled for 24 hours before eating, which shows an amazing amount of will power, and we are assured that they were well worth the wait!

Chocolate Dipped Mango Macarons

Gill from Tales of Pigling Bland submitted these amazingly posh sounding Chocolate Dipped Mango Macarons, with a gorgeous homemade Mango Curd filling. The half dipped dark chocolate  case looks fantastic too.

Earl Grey Macarons

Our next entry was from Elizabeth at A Girl In Her Kitchen, and she made these incredibly elegant Earl Grey Macarons, filled with an Earl Grey infused Ganache! This was the first time Elizabeth had made or even eaten a macaron, and they look just beautiful - what a great flavour choice!

Chocolate and Raspberry Macarons

Jen, our Classic French creator from Blue Kitchen Bakes hadn't attempted Macarons before either, and has entered these Chocolate and Raspberry Macarons, always a winning flavour combination! Jen proved true the saying 'if at first you don't succeed' with these great looking macarons, you'll have to head over to her post for the full story!

Thank you so much to everyone for taking part this month, it has been an absolute pleasure to host the challenge and I am totally inspired and in awe of the amazing entries that have come in. Don't forget to head over to Jen's blog to find out the theme for June's Classic French challenge

Sunday, 5 May 2013

Lavender and White Chocolate Macarons, and a Review of Sainsbury's New Infused Sugar Range

Lavender and White Chocolate Macarons

Ever since seeing them at the Cake and Bake Show in Manchester earlier in April, I have been keep to test Sainsbury's new range of infused sugars. Sainsbury's have really got on board with the ongoing baking trend that is running through the country, and have updated, revamped and expanded their home baking ranges for Spring with some fantastic new products, the focal point for me being these Taste the Difference Lavender, Vanilla and Cinnamon infused sugars. You can read more about their full range revamp here.

The infused sugars are pots of granulated white sugar, which actually have their flavour elements embedded in the sugar, so the vanilla sugar contains vanilla pods, and the lavender sugar is flecked with  lavender flowers. I really like this touch, it would have been easy I am sure to have created an essence or flavouring, but the presence of the ingredients is really great, especially in the lavender sugar, as the flecks of flowers will be present throughout whatever you bake. If I had one niggle, I would have preferred to see Sainsbury's use a caster sugar, as it would have been better for us bakers, however it is only a little niggle!


I decided to try the lavender sugar first, and as I am hosting this month's Classic French challenge, I thought it would be an ideal flavour to incorporate into the theme of macarons, as the delicate flavour and dainty patisserie treats should go hand in hand. I took my basic macaron recipe, and replaced the normal caster sugar with the lavender sugar. Simple! Despite only having two tablespoons in the recipe, the lavender taste really comes through strong, and although not overpowering, you certainly wouldn't need any more. If you are using the lavender sugar in another recipe, you would only need to substitute a few tablespoons of normal sugar with this to get the flavour through really well, and with 250g in a pot, it will last quite a long time making it a reasonably priced investment to add the wow factor to your bakes. I can't wait to get creative with the Vanilla and Cinnamon versions!

Anyway, onto my macarons. I use quite a simple recipe, which I have found works well for me every time. The quantities are quite big, and make around 24 full macarons (48 halves) or 40 mini macarons (80 halves), you could happily halve it if you can find a way to split the eggs, or use a ready made egg white liquid such as Two Chicks. 

Ingredients

  • 125g ground almonds
  • 200g icing sugar
  • 3 free-range egg whites
  • 2 tbsp Taste the Difference Lavender Infused Sugar
  • ½ tsp cream of tartar 
  • violet food colouring gel
For the white chocolate filling
  • 200g white chocolate
  • 160ml double cream
  • 40g unsalted butter

Method


  • Blend the ground almonds and icing sugar together in a food processor until well combined. Set aside. This is to make sure that the mixture is as smooth as possible. I actually don't have a food processor, so I don't do this step, it doesn't make any difference to the flavour, you will just notice from my pictures that my macarons have a little bit of a bumpy finish...
  • In a large mixing bowl, slowly whisk the egg whites in a large bowl at a low speed until stiff peaks form when the whisk is removed. This will take about 5 minutes on the slowest setting, just keep going gently until you get there. Whisk in the cream of tartar and lavender sugar until the mixture is smooth and glossy, increasing the speed of the whisk as the mixture stiffens. I just scoped two teaspoons of the lavender sugar in, taking some of the lavender flowers at the same time, as I wanted them to be scattered through my finished macarons. 
  • Add the food colouring and the ground almonds and icing sugar, and stir through gently until the mixture resembles shaving foam, do not mix too much, as you will lose some of the structure. I added quite a bit of the violet food colouring, but didn't worry too much about getting it spread evenly through the mixture as I wanted a more marbled affect on my finished macarons. 
  • Spoon the macaroon mixture into a piping bag, and snip off the end. Pipe onto a baking tray lined with greaseproof paper, making sure to pipe even sized circles, and leave at least an inch between each macaron as they will spread. I cheat a little here, as I use a double sided macaron mat I bought from Baked by Me, it's brilliant, and has both normal and mini sized ridges on, which means that you can pipe more macarons on a sheet without fear of the spread...

  • Once you have piped out all of the macarons, drop the tray a couple of times to flatten them out, and then set aside for around 60 minutes before baking. This is to allow the surface of the macaron to set its hard shell, they will be ready to bake when you can touch the surface of the shell and it is no longer sticky. 

  • Whilst the shells are setting, make the white chocolate ganache. Melt the butter and cream together in a saucepan, and bring to a low boil. Once little bubbles are starting to appear, turn the heat down as low as it will go, and add the white chocolate a couple of pieces at a time, stirring constantly, until the chocolate has all been melted into the mixture.
  • Transfer the chocolate ganache into a bowl, and set aside to cool. I try and stir mine every 5 minutes or so, to prevent a skin forming, and once it is cool, place the bowl in the fridge to let it solidify enough to be piped easily without it running out the sides. 
  • Pre-heat the oven to 160 degrees.
  • Bake the macaron shells for 10-15 minutes, until cooked. The top of the shell will rise up, and little 'feet' will appear at the base of the macaron. If you take them out of the oven too soon, they will split when you try and take them off the baking sheet, however if you bake too long, you won't keep the chewy middle of the macaron. After 10 minutes, test one shell to see if it lifts off the sheet easily or not, and keep checking until they are ready. 

  • Remove the shells from the oven, and transfer them carefully from the baking sheet to a cooling rack.
  • Leave to cool for 5-10 minutes, then turn over half of the shells. 
  • Pipe the ganache onto the upturned half of the shells, then sandwich one empty shell onto one with ganache. Press them genlty together, so that the ganache pushes out to the edges. 

  • Refrigerate for 30 minutes to allow the ganache to set, and then tuck in! 

I made some mini and some full sized of these macarons, and in this instance, the mini ones are perfect for the flavour combination. The lavender taste comes through strong, and therefore the sweet white chocolate ganache balances the floral tones perfectly, and as both flavours are quite pronounced, the mini macaron is the perfect mouthful.

These are my entry into this month's Classic French challenge, you can see the full challenge and add your macarons to the linky here.


Wednesday, 1 May 2013

May's Classic French Challenge

When I agreed to host this month's Classic French challenge for Jen over at Blue Kitchen Bakes, I had a long hard think for a theme for all of ooo... three seconds! I wanted to chose something that was first and foremost French (obviously), but secondly would give us all the freedom to experiment with flavours and colours to our little hearts content. Having scrolled through the archives on Jen's site to check what had been covered before, I could see that these hadn't been tackled yet, and as a Classic French patisserie treat, I felt compelled to make this the theme for this month's challenge.  If you haven't guessed it yet, May's challenge is of course, Macarons!

I've only made these once before myself, and that was because someone told me they were difficult, and that sounded like a challenge to me! There is definitely a knack, but as long as you are methodical and patient with them they come out just great, and my goodness the taste is always well worth the effort. So for those of you who have never made a macaron, now is the time to give them a go, and for those who have, well let's just see how creative you can all be!


Challenge Rules

  • Please use the logo on your post and tag the post with the label 'Classic French' and include a link to myself at A Kick At The Pantry Door, and to Blue Kitchen Bakes.
  • Please add your entries via the linky at the bottom, enter the name of your dish in the name box. If you don't have a blog or linky doesn't work then email your entries to kickatthepantrydoor@gmail.com including the name of your dish, your name, a photo and a link to your post
  • If you're on Twitter you can also tweet your links to @ThePantryDoor1 and @BlueKitchenBake using the hash tag #ClassicFrench and we will retweet any that we see
  • You can enter as many times as you want and you can enter your post into other challenges as long as it fits in with their rules 
  • You can enter an old post if you want but please update with a link back to my blog and the challenge logo 
  • Don't forget that if the recipe you use is from another source i.e. book/magazine/website/blog to credit the original author.
  • The challenge will run until the 28th of the month.
  • New challenges will be announced on the 1st of each month
  • Above all have fun and use this as an excuse to learn something new and get creative!

Friday, 15 February 2013

Valentine's Day Black Forest Chocolate Cherry Cake

I am so excited to share this recipe and cake creation with you all, as I have had it mentally drawn up in the back of my mind for Valentine's Day for the last few weeks! It was actually baked for Valentine's Day, however I have had to wait until today to post it, as there is a hidden surprise inside and of course, it needed to be photographed! 

This is my Black Forest Chocolate Cherry Cake, with Cherry Brandy Ganache, Buttercream Roses and Dark Chocolate Hearts - an absolute feast for the eyes and the taste buds for Valentine's Day...

'Black Forest' Chocolate Cherry Cake ...
... and it hides it's own little secret - a bright pink Cherry heart!!

... with a hidden pink heart!
The flavours in this cake are inspired by the great classic Black Forest Gateaux, but with a few changes and twists in order to meet the design I had in mind. This cake is best made the day before needed as the ganache needs time to set before the remainder of the decorations are added. To recreate this gorgeous cake, you will need the following ingredients;

For the Pink Cherry Heart
  • 100g butter
  • 100g golden caster sugar
  • 2 free range eggs
  • 1 teaspoon either cherry brandy or cherry extract
  • 100g self raising flour
  • Pink or red food colouring (I used Sugarflair gel in Ruby)

For the Chocolate Sponge
  • 150g butter
  • 150g golden caster sugar
  • 3 free range eggs
  • 100g self raising flour
  • 20g good quality cocoa powder (I used Green & Blacks here)

For the Cherry Brandy Ganache
  • 200g good quality dark chocolate
  • 200g double cream
  • 1 teaspoon cherry brandy
For the Buttercream
  • 70g icing sugar
  • 50g butter, softened
To Decorate
  • Glacé cherries
  • 30g melted chocolate

Method

Start by making the pink cherry heart centre. Pre-heat the oven to 150 degrees. Line an 8 inch square cake tin with baking parchment leaving an overhang to make removing the sponge easier. In a large bowl, cream together the butter and sugar until light and fluffy. Lightly beat the eggs, and add to the mixture along with the cherry brandy. Beat together until combined. Sift in the self raising flour, and fold into the mixture. Finally add two to three drops of the food colouring, and mix well until you achieve a bright pink colour throughout the mixture.

Transfer the mixture to the lined tin, and take time to spread evenly into the corners of the tin. You want to avoid any uneven rise in the sponge. The mixture will spread thinly across the pan, we are aiming for a large flat surface of cake to cut shapes from. Place in the oven. The low temperature should allow the mixture to cook without colouring it too much on the crust. Bake for around 10 - 15 minutes until firm to touch, then remove from the oven. 


Whilst the sponge is still warm, use the baking parchment to lift it from the tin. Turn the sponge upside down on a chopping board, and peel away the baking parchment, revealing the soft underside of the cake. Use heart shaped cookie cutter to cut away 8 - 10 hearts from the sponge. Set aside on a cooling rack. (Make sure that the shape and size of the cookie cutter fits comfortably inside the loaf tin for the overall cake.)


Next step is to make the chocolate outside of the cake. Line a loaf tine with baking parchment and grease well. Turn the oven temperature up to 180 degrees. Cream together the butter and sugar, then add in the beaten eggs. Sift in the flour and cocoa powder and combine well. 

Spoon a few spoonfuls of the mixture into the bottom of the lined loaf tin. Then take the pink hearts, and line then up upside down in the tin. Work from the middle outwards and gently press them together to prevent the chocolate mixture spreading between them when baking. 


Fill the tin with the remainder of the chocolate mixture, being careful not to knock the hearts out of position. Make sure that you cover the tops of the hearts completely. Flatten the mixture over the tin evenly, as the top of the tin will become the bottom of the cake when served. 


Bake in the oven for 25 minutes, or until a skewer inserted into the cake comes out clean. Remove the tin from the oven, and place on a cooking rack. 

Meanwhile, make the chocolate ganache. Heat the double cream in a saucepan just until it starts to bubble. Turn down the heat, and add the chocolate pieces a little at a time, stirring throughout. The mixture should turn smooth and glossy. Add the cherry brandy and stir well. Set the mixture aside in a bowl until cool, and then place in the fridge to allow the mixture to firm up. It needs to be smooth enough to spread easily, but firm enough to hold shape and not run down the cake. 

Turn the cake out of the loaf tin, using the baking parchment to lift it out. Turn the cake upside down. You may need to use a knife to level off the top of the cake for it to sit flat, if so, be careful not to cut too deep as you don't want to cut any chunks out of the inner heart shape. 


Once the cake is cooled completely, and the ganache is the correct consistency, place the cake on a serving plate, and cover the cake completely with the ganache. Don't worry too much about getting a perfectly smooth finish, I deliberately wanted a more homely 'rough around the edges' look, just make sure that all of the surface of the cake is covered. Return the covered cake to the fridge to allow the ganache to set. 


Finally, it is time to decorate the cake. 

Start by melting the dark chocolate, either in the microwave carefully, or by tempering it over a bowl of hot water. Transfer it to a piping bag fitted with a number 2 nozzle. On a sheet of greaseproof paper draw a range of hearts to decorate the top of the cake. Again, I made these quite messy and rough. Set aside to cool and set. 


In a small bowl, mix together the ingredients to make the buttercream. Transfer the buttercream to a piping bag with a star nozzle fitted. Roughly pipe a row of roses along the top of the cake by placing the nozzle onto the cake and then spiraling outwards. Allow the roses to overlap each other. 


Finally, arrange the set chocolate hearts along the top of the cake, pressing them into the buttercream to stand upright. Alternate the hearts with glacé cherries. 


Now all that is left is to serve your cake, and enjoy the look of surprise on the face of your beloved when the inner pink heart is revealed! 


I am entering this cake into Calender Cakes, run by Laura at Laura Loves Cakes and Rachel at Dolly Bakes, where the theme is 'My Achey Cakey Heart', and Classic French hosted by Jen at Blue Kitchen Bakes, where the theme this month is Ganache.